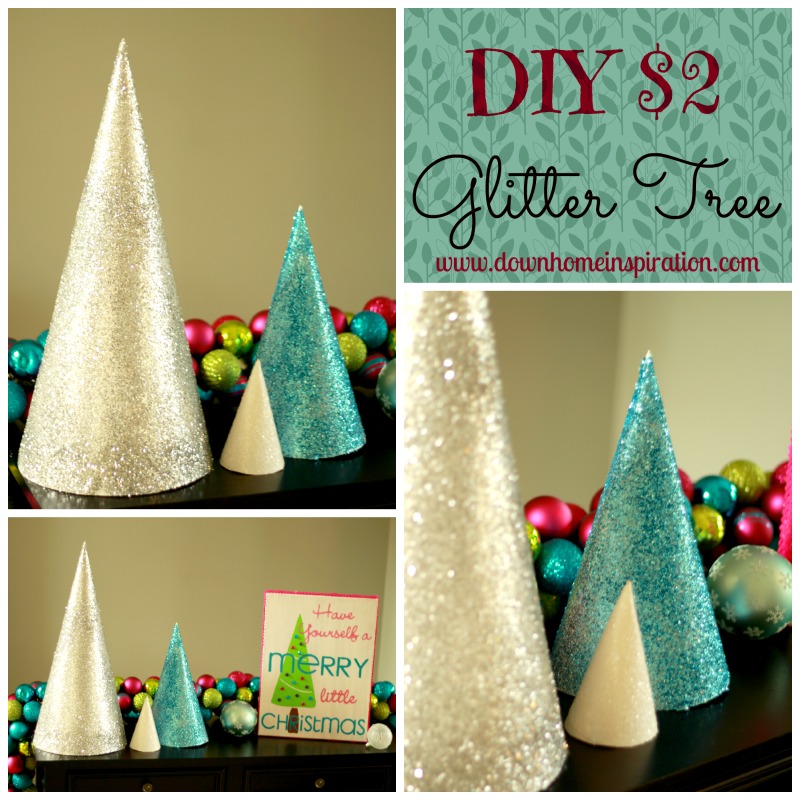
Oh how I love glitter! Maybe it’s a girl thing, but in my mind, everything is better with some glitter on it. It makes me oh so happy to see the light reflecting off of my pretty new trees and bouncing around the walls like a kaleidoscope. It just looks very festive and cheerful and you can personalize these trees to make any colors you like that match your décor. This project took me about 20 minutes and each tree cost less that $2. Considering the size and impact that these trees add to my vignette, that’s quite the steal! Here’s what you’ll need to make your own trees:
Poster board: Depending on the size of the tree you can make multiple trees from one sheet
Glitter: any color you want, either fine or larger pieces
Adhesive Spray
Tape or hot glue: to hold your cone together once shaped
There are multiple ways to cut and shape your cone, but here is a video that I found to be helpful. Choose the size that you want your tree to be and cut a cone accordingly. Shape your cone and glue along edge. I would suggest going outside for the next step of using the spray adhesive and glitter. My spray adhesive seems to go everywhere and I would hate for that sticky mess to be in my house…not to mention the smell! Spray small sections of your tree at a time and pour your glitter onto the glue. Tap gently to remove excess glitter. Tip: pour your glitter over a large piece of paper or cardboard so that you can save whatever glitter falls off of your project. Continue spraying and glittering one section at a time until you have covered your tree.
Spraying your trees with hairspray will help “seal” the glitter and keep you from having a glittery mess in your home. I’ve had my trees in my house for almost a week now (early decorating, I know), and with three kids constantly wanting to touch and move them I have had very little glitter shed.
I just love these fun colors and can’t wait to make some more of these adorable trees to put around my home.
PS: If you love my Merry Christmas canvas and ornament garland in the background, keep an eye on my future posts as the tutorials will be coming soon!


I love your trees! I am going to make some tonight.
Thank you! Hope that you enjoy yours as much as I do mine!
What a cute and easy idea! Love it!
Jennifer @ My Sweet Sanity recently posted…Three Ingredient Apple Pie Dip
Thank you Jennifer!