DIY Lap Desk
When did life become so busy? Do you ever wonder where your free time went? You know, before you became a full time taxi driver, chauffeuring your children (and occasionally a stray neighborhood child as well) back and forth to school, sports, play dates and who knows what else? Yeah, me too.
My family spends a frightening amount of time on the go. We travel close to two hours each way for both my son’s hockey and my daughter’s lacrosse. My little one goes to a different school than her older siblings, and there are always errands to run in between the two. We keep spare clothing and extra snacks in the car.
We basically live in there.
And now that school is starting back up here in NC, it’s time to think about using that car riding time to complete homework. There’s really no better time, since my audience is rather captive! Haha!
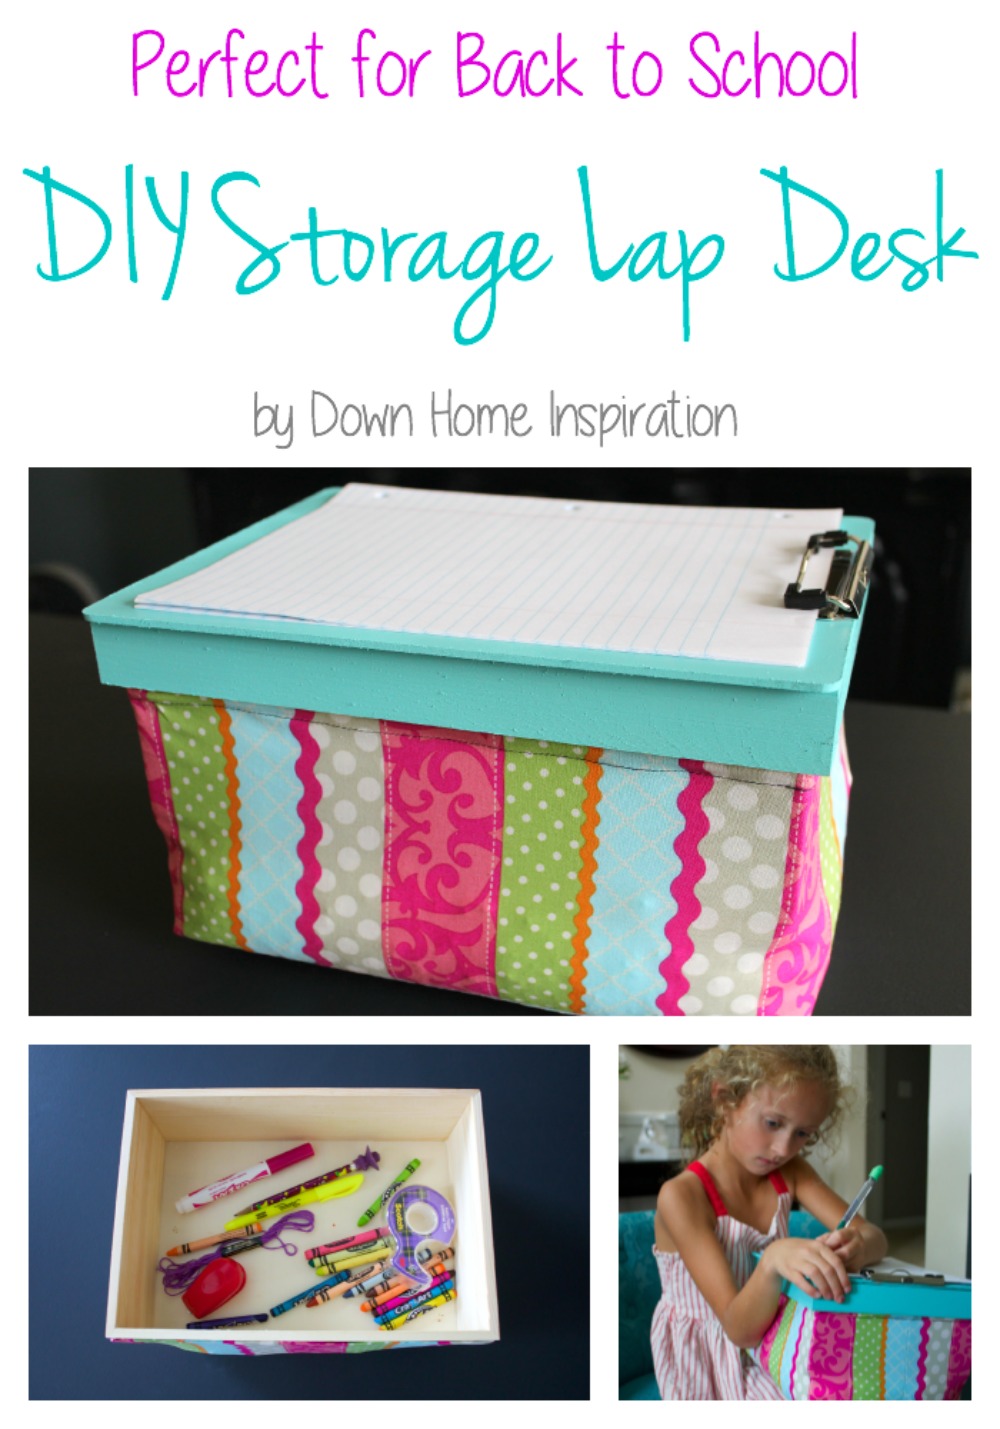
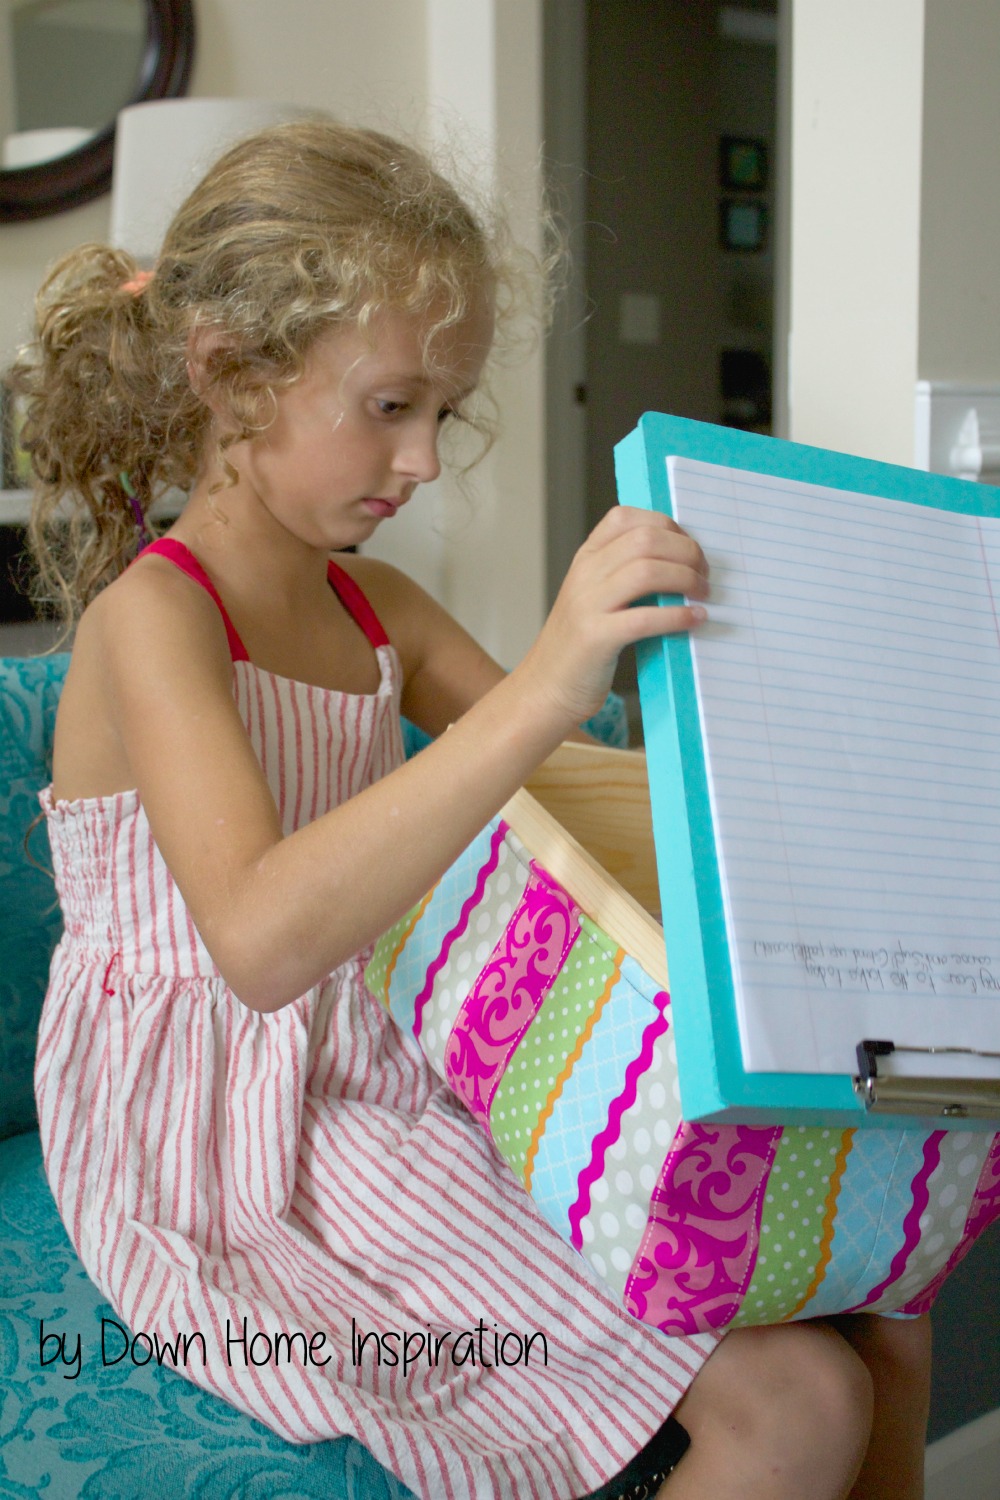
For that reason, I decided to create a lap desk that would work perfectly for our situation. I had a couple of needs: 1) that it have a clipboard to help keep papers still and writing neat and 2) that it have room for storage to keep the basic supplies close at hand. And here is what I came up with:
 Supplies Needed:
clipboard (I got mine from the dollar store)
unfinished wood storage box (found mine at Michaels, used my 40% coupon)
1/2 yard fabric
bean bag filling, rice or beans
basic sewing supplies
super glue
Start by finding a wood storage box that your clipboard can easily sit on top of. I realize that there are many sizes of boxes available, so I will not give exact measurements for the fabric, just the general directions.
Using super glue (I used Gorilla Glue since that’s what I had sitting on my craft desk at the moment), glue the clipboard to the top of the storage box. Set aside and allow to dry.
Meanwhile, cut a piece of fabric for each side of the box to be 1/2″ wider than each side. I wanted my fabric to touch the lid when on and to be 4 inches past the bottom of the box. Measure what works for you, keeping in mind that whatever hangs down past the box will be where the bean bag filling or rice is. That’s the “cushion.”
Using 1/4″ seam allowance, sew right sides together to create a box. Now measure the space in the bottom and cut a piece of fabric, allowing 1/4″ seam allowance on all four sides. Continuing with right sides together, sew the bottom on and turn right side out.
As a completely optional step, I chose to sand down the corners of my wooden box so they wouldn’t poke the fabric. This is not necessary, but if you would like to do it, now is the time. Just round the corners with a hand sander.
Fill the bottom of the fabric with either bean bag filling, rice or dry beans. Fill only to where the bottom of the wood box will touch.
Insert the wood box into the fabric and glue the sides of the fabric to the box with super glue.
I quickly spray painted my wood box top and clipboard a fun color to match my fabric. Again, this is totally optional.
You now have a super functional, adorable DIY storage lap desk! It is customizable with colors, fabrics, even a monogram added to the top! Go crazy, make a couple. Mine ended up costing less than $10.
Are you constantly doing the soccer mom shuffle? How do you cope? I’d love to hear from you!


What a great idea! Now you can have a lap desk perfectly designed for your needs. I’ll try this too. Thanks for the idea.
I LOVE this idea. Thank you!! I plan to make these as Christmas gifts this year with one modification… i want to add handles to the sides for aesthetics as well as ease of carrying the lap desk.
Thank you again!!
Handles would be awesome! Hope that you love yours, we still use ours all the time. Thanks so much!