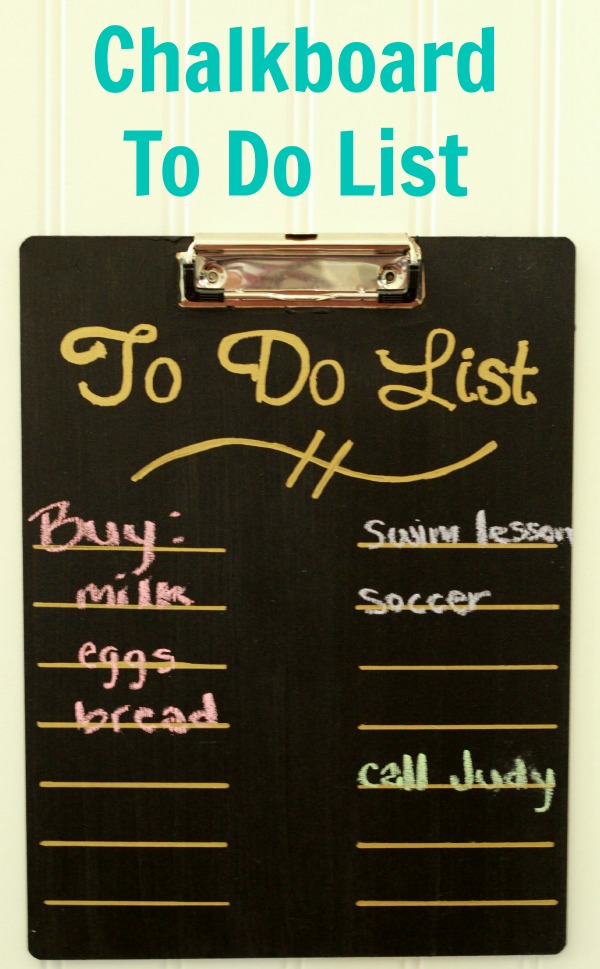
I think that as I age my mind will be the first thing to go. Between three kids, a husband who travels constantly, starting a blog and the upcoming holidays there is just no way that I can remember everything on my mental to do list. This chalkboard list has already come in handy after making it just yesterday. It’s a place where I can jot down any reminders and then just wipe clean when I have completed all of my tasks. And to be honest, I just love being able to cross off or erase a task and know that I am accomplishing things. Yet another super easy project for less than $3, here is what you’ll need for this chalkboard:
Clipboard: $1 from Dollar Tree
Chalkboard Paint: $1.99 Walmart
Gold Sharpie: on hand
magnets or Command Strips to hang with

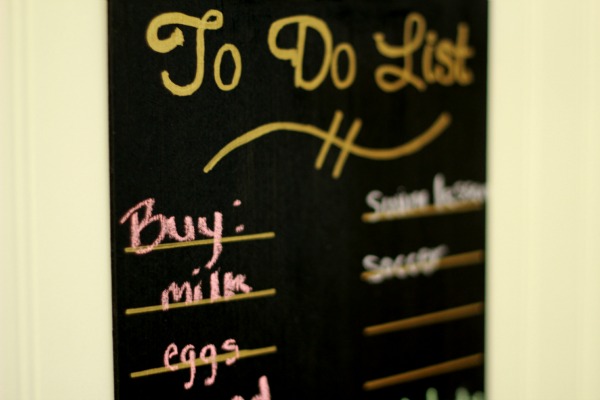
I applied two coats of chalkboard paint to my clipboard and allowed it to fully dry. After cutting out a stencil with my Silhouette I filled it in with a gold Sharpie marker. As you can see above the maker bled through so I went back over the letters by hand to give them clean edges. It would probably have been much easier to just free hand this project. Next I used a ruler and made my lines using the Sharpie. I measured mine out to be 3 1/4 inches long each with one inch space between them. Now all that was left to do was attach some Command Strips to the back so that I could hang it where it would be visible and easy to access. I put mine by the door to my garage so that I can check it on my way out each day as a quick reminder of what needs to be done.
Now if only I could get myself to remember to buy more chalk!


Speak Your Mind