(Be sure to check out part one of this post to get all the details on why this project made me cry plus all of the “before” photos!)
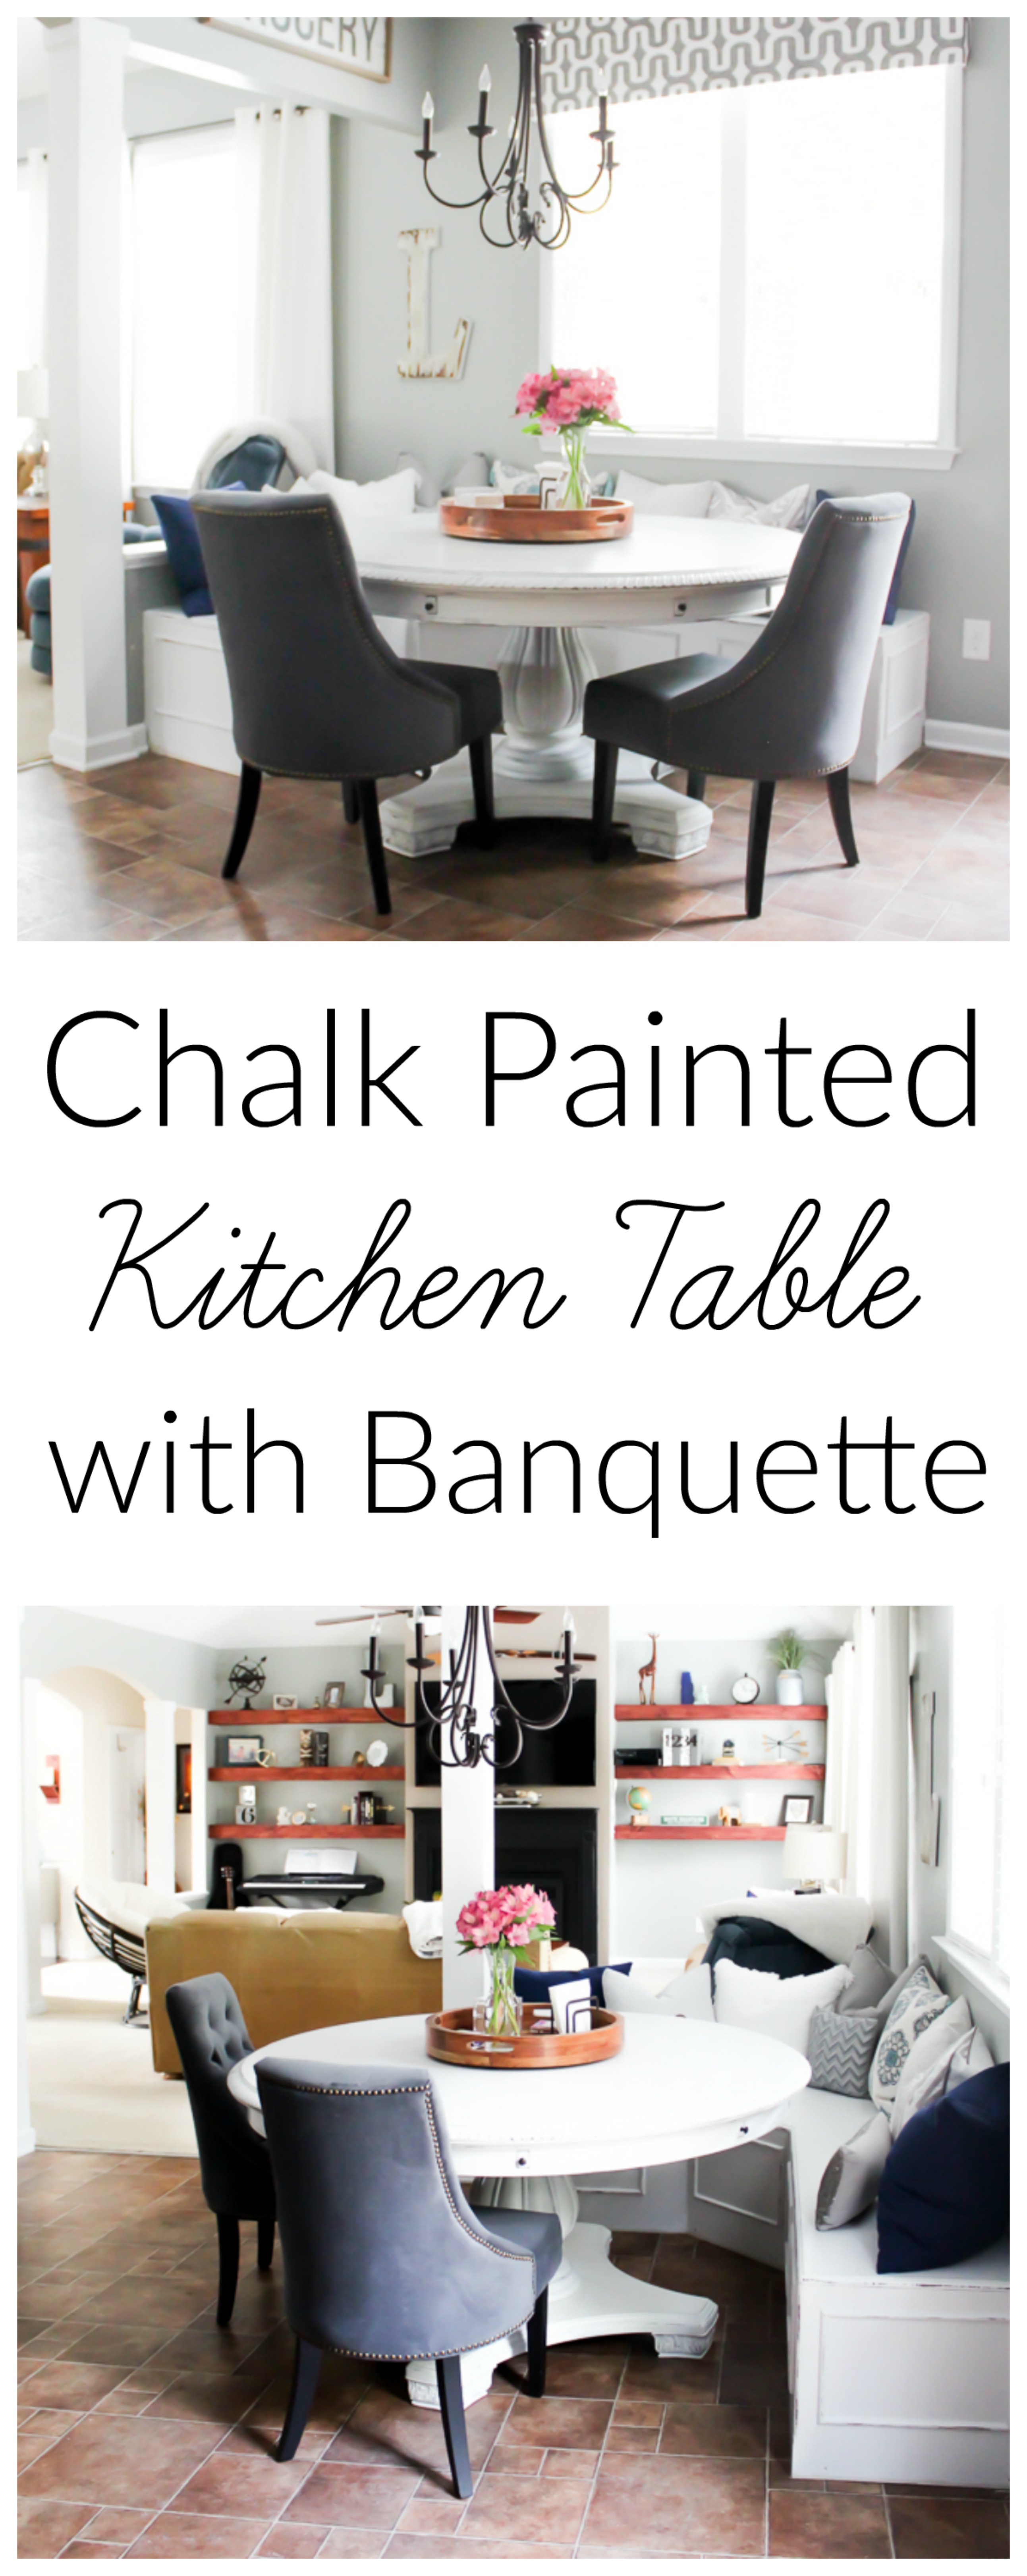
You may remember that we left off with me crying over a table that I spent a silly amount of hours working on and then totally hated…
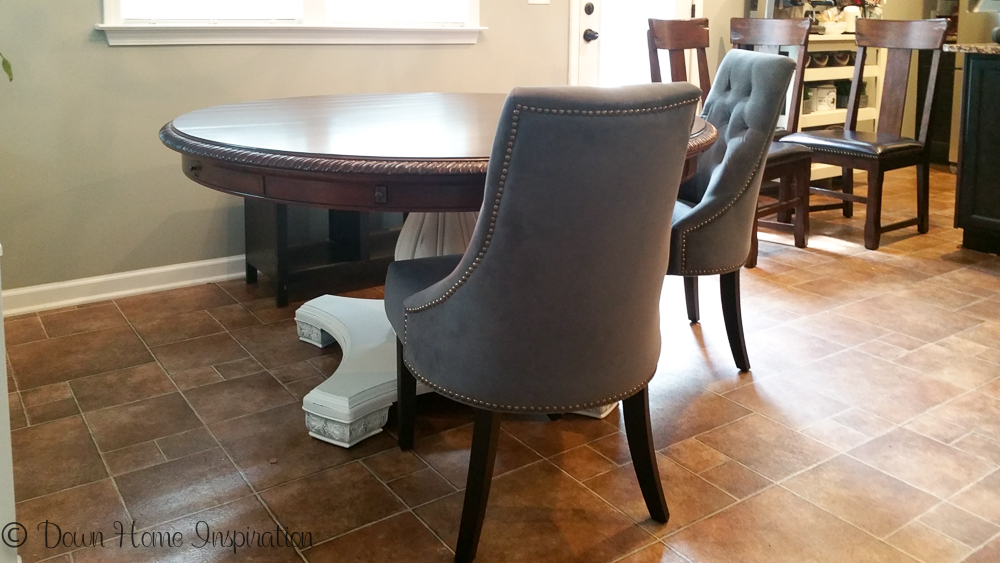
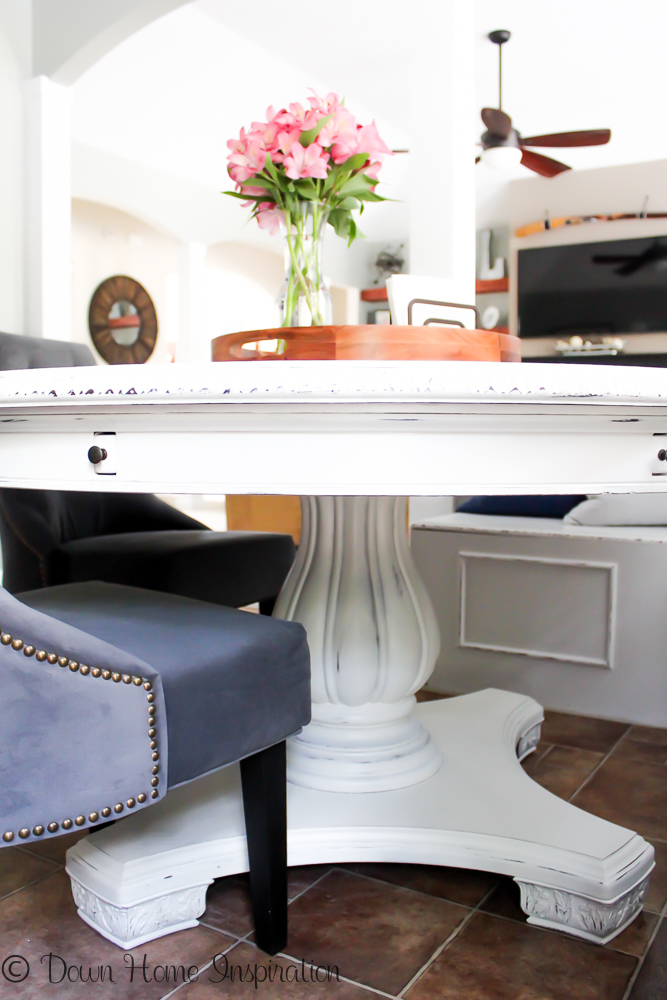
But I realized at that time that I was really loving the color of the pedestal and decided to just throw caution to the wind and chalk paint the whole darn thing. I was super hesitant because it is harder to seal light colors and I knew with my kiddos using the table daily that it needed to be pretty tough to stand up to their abuse. I was kind of out of options though, so paint it was.
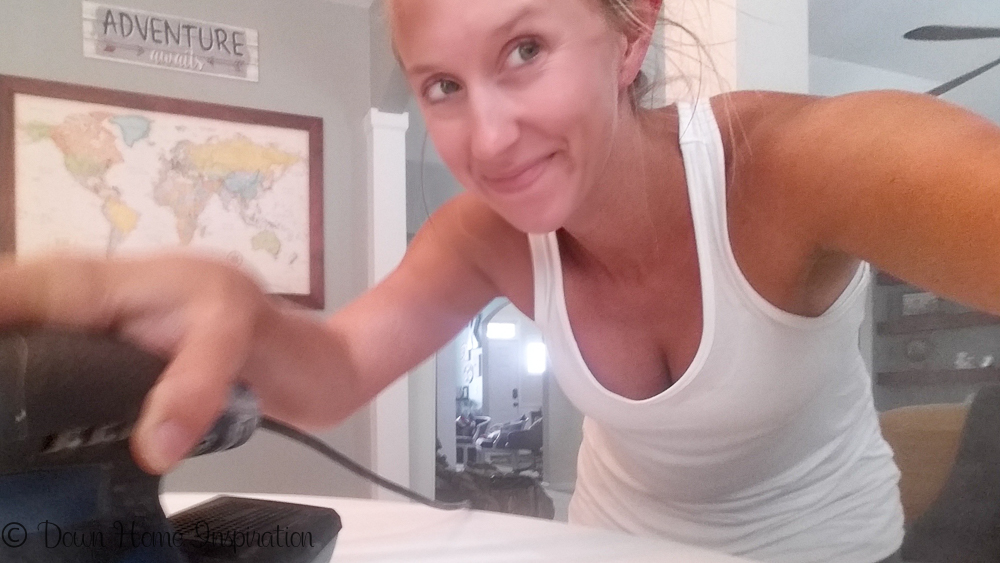
It took four coats of paint (I used Rustoleum Chalked Paint in Linen White) and then lots of elbow grease to sand it down to look distressed. I honestly just used a quarter of a sheet of 180 grit sandpaper and went along each and every edge or place that might get worn naturally and sanded until it looked right to me. Distressing is such a super subjective task, and you just have to mess with it all until it is to your liking. I also sanded the entire top with my orbital sander when I was ready to top coat it so that it was a smooth finish. Chalk paint is notorious for being full of texture, but I don’t need anything else to catch crumbs and messes in my house! The bad news is that by this time the table was already in my kitchen and as you can imagine, sanding chalk paint creates chalk dust! And so, so much of it. My entire kitchen, living room and office were all covered in it.

You can see how much chalk dust is in the air by looking at the lights. #nofilter icky mess!
After sanding the top smooth, I used five coats of polycrylic to seal it. If you use a light color, DO NOT use polyurethane as it yellows over time. Just don’t do it!
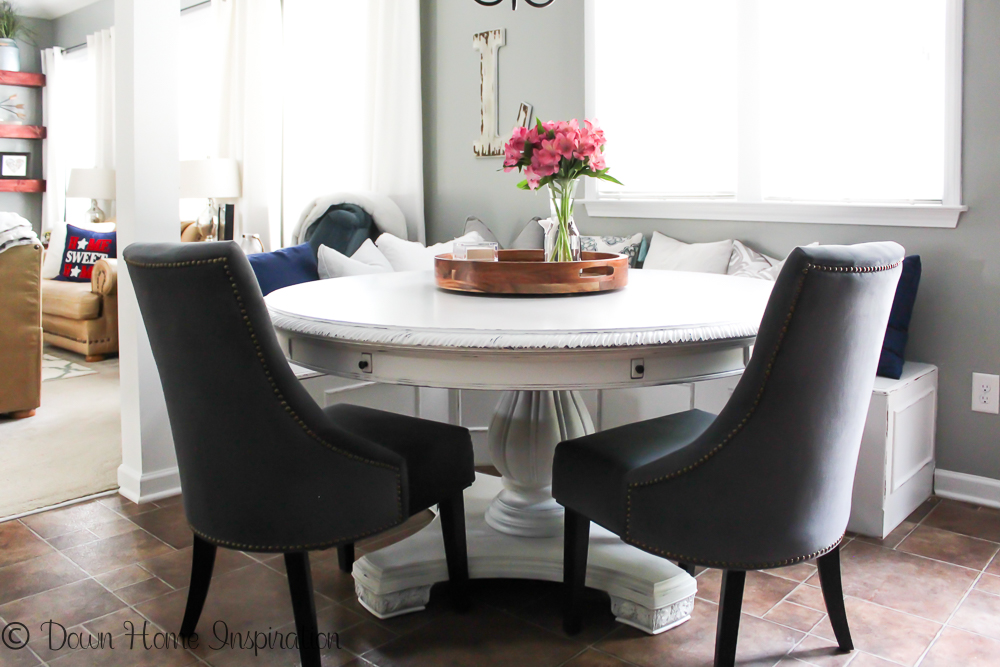
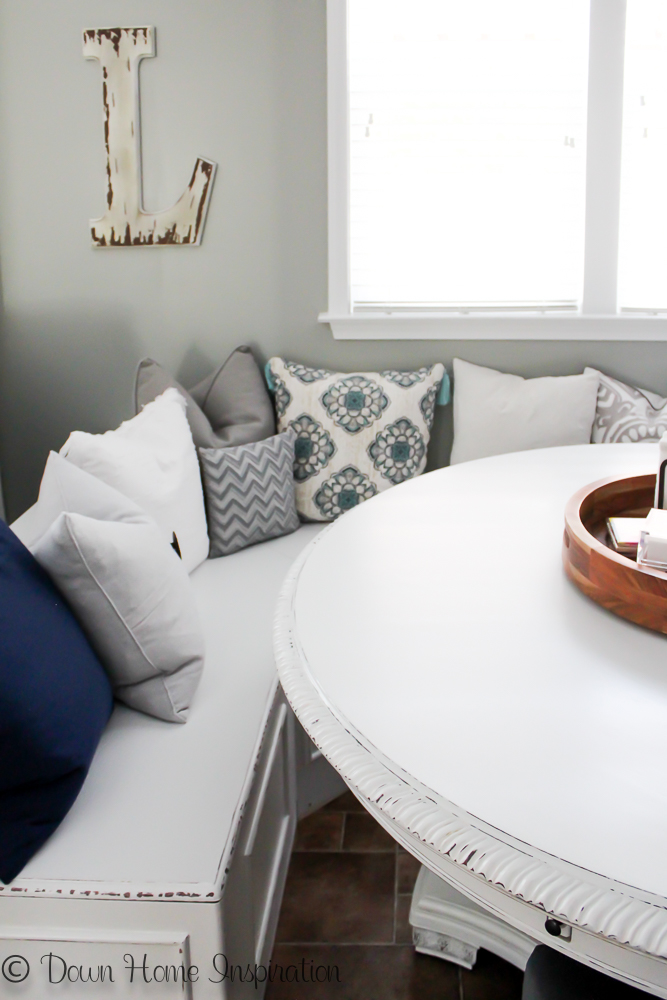
As for the banquette, I wish that I had a tutorial to share with you. I gave my hubs the general idea of what I wanted and he got straight to work. He is rapid fire quick and creates his designs on the fly, so it is nearly impossible to get instructions from him or photos of steps. Sorry!
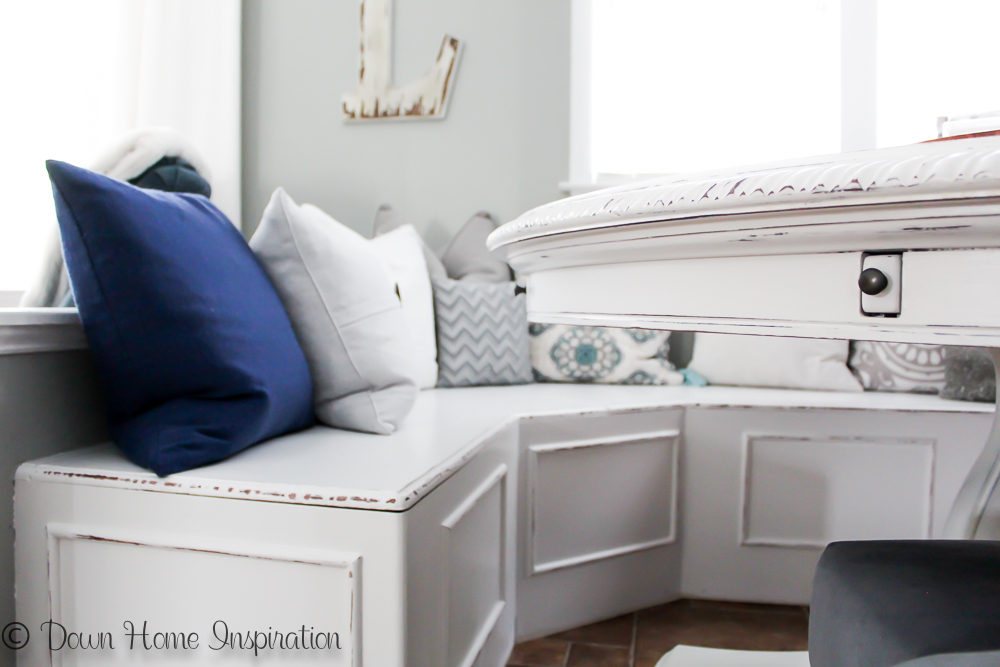
Our final product is a super family friendly table that really brightens the room (both with the white of the table and the colorful throw pillows – all from TJMaxx).
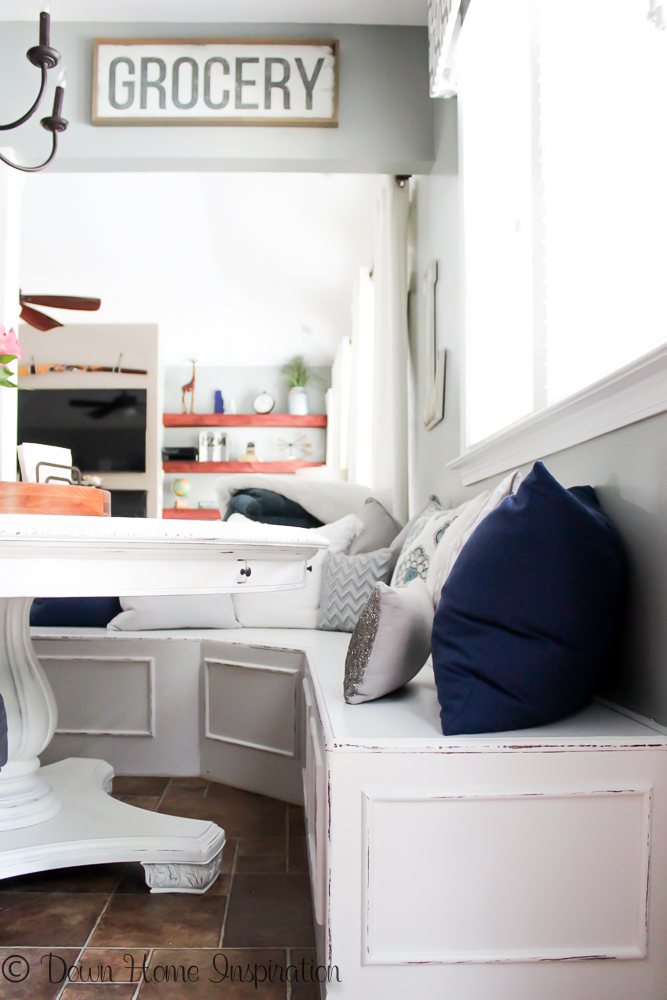
I added my DIY Lazy Susan on top and we are all just so happy with it. I couldn’t imagine any other table in this space now.
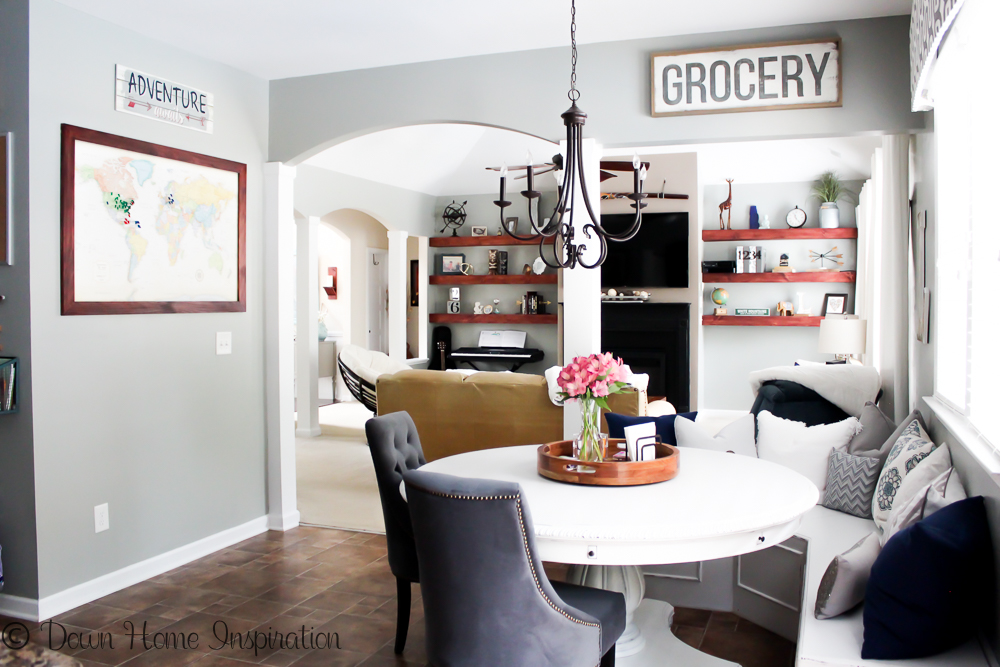
I ended up spending more than I planned (typical!). Here is my breakdown:
Table: $275 on Craigslist
Gel Stain and Polyurethane: $30 … wasted. Ugh!
4 cans of chalk spray paint: $28
2 cans of chalk paint: $38
polycrylic: $11
2 dining chairs: $340 (Lydia chair from World Market)
supplies for banquette: $150
assorted pillows: $100 (TJmaxx, I already had a few)
______________________________________
Grand total of $972
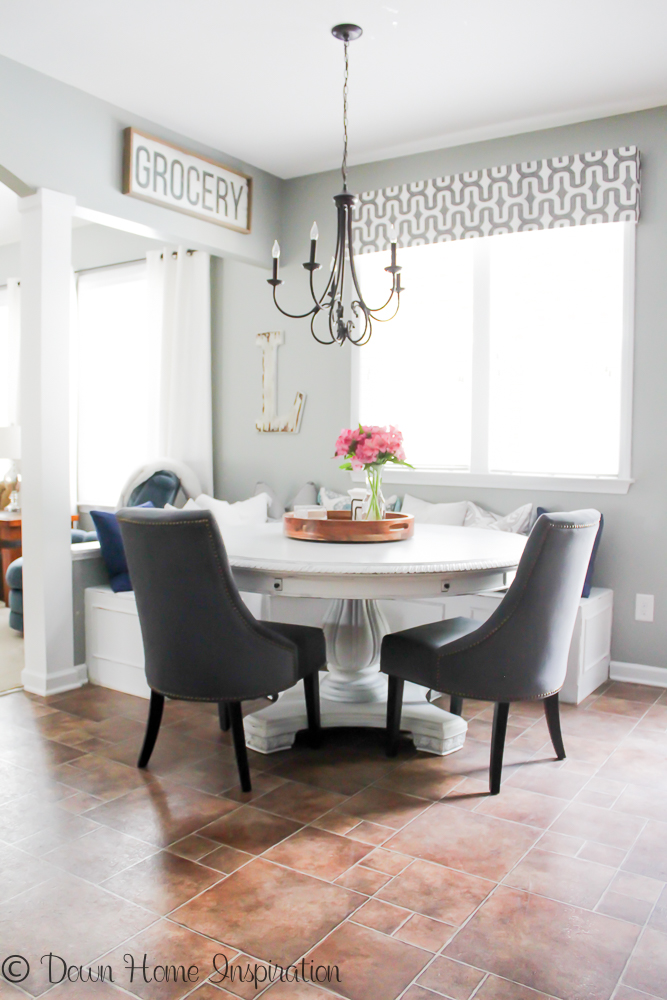
This project was waaaayyyy more than I wanted to spend, but every day when we sit down to eat I smile.
And that is definitely worth something too!


I love it! I’m eyeing your pin board world map in the background and getting project ideas.
Hahaha, my whole house has blog projects everywhere! I’ve got the map info here: https://www.downhomeinspiration.com/personalized-family-travel-map-budget/
Hey Kristen … this project it’s awesome … well done to you and the husband that helped with the banquette
I really liked the worn effect that you guys achieved here with the table and the banquette.
You did overspend … but at the end of the day if it makes you happy … that’s all it matters!
Loved it, thanks for sharing!
Adrian at ninjaDIY recently posted…Best Laser Level For Electricians