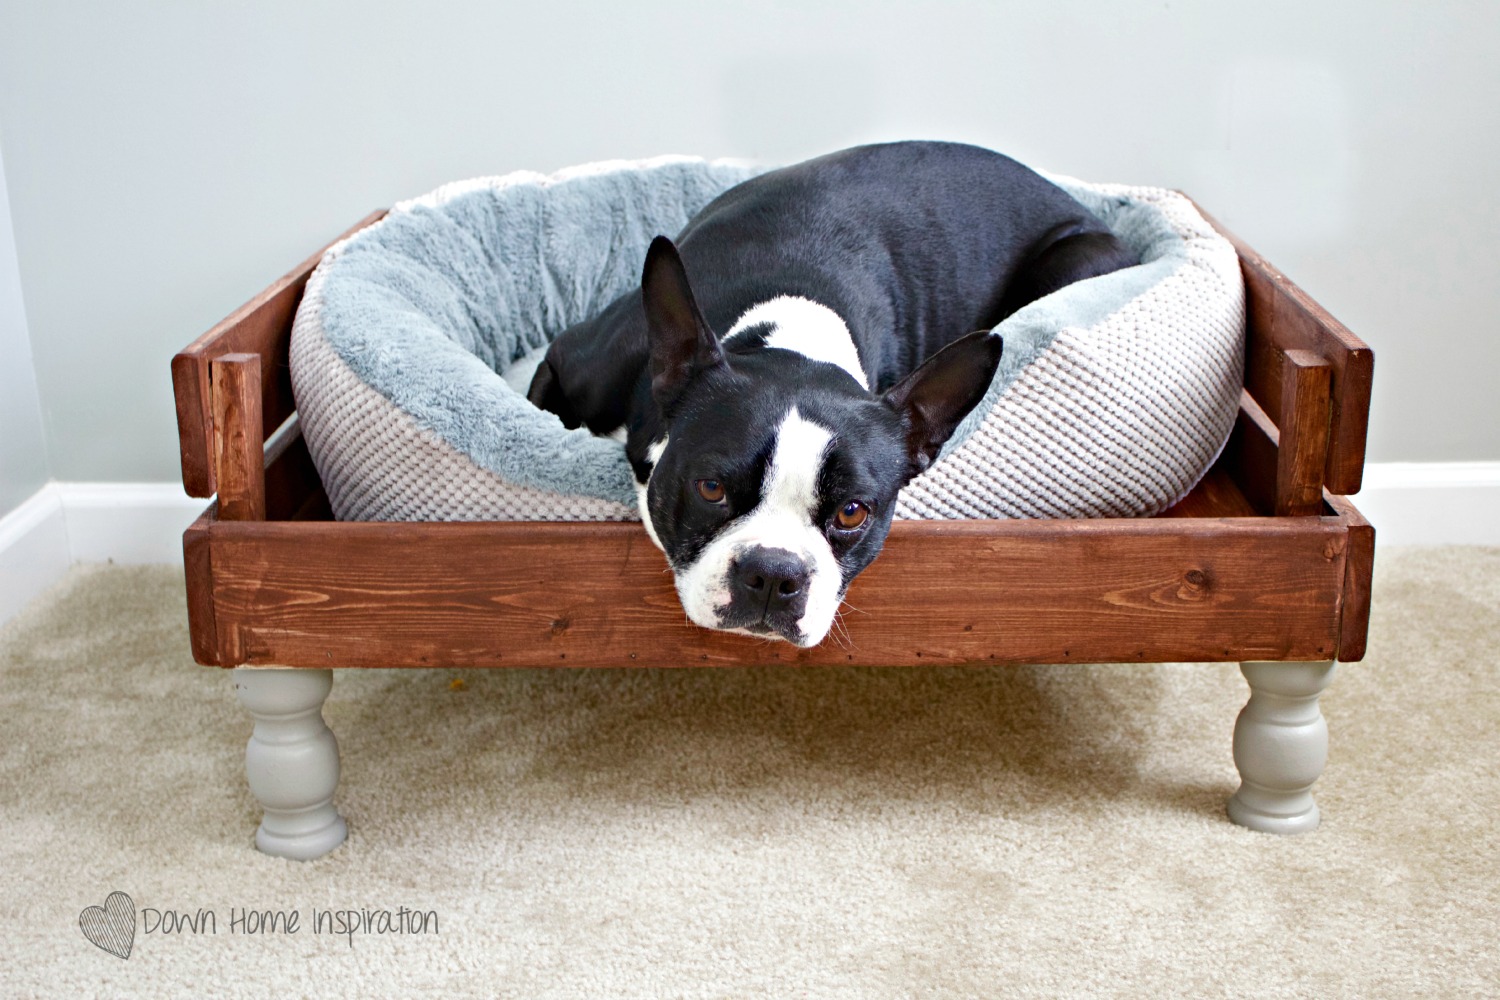
Two years ago we adopted a child into our home. And to be honest, he is kind of an a$#hole. He uses the restroom all over my house, escapes from the backyard and has the most hellacious gas that you have ever encountered. Meet Murphy, our Boston Terrier. Don’t let that face fool you, he is pure trouble!
So while Murphy is all of those things I said above and more, he has somehow wormed his way into our hearts and usually into my kid’s beds at night as well. He is a member of the family, and he was in desperate need of a bed upgrade. After digging around my garage for a bit, I came up with this crate dog bed that cost me less than $10 to make and is a substantial enough piece that it anchors the area of the room where he sleeps.
This dog bed is about as simple of a build as possible, so if you are new to woodworking, this is a great project for you! The following directions make a bed with a 26 by 21 inch opening, which is perfect for our 25b guy, but you can resize as needed.
Supplies:
(4) 8ft 1×4
(2) 8ft 1×2
brad nails or screws
feet or casters (optional)
stain or paint
Cut List:
(3) 1×4 at 26″
(4) 1×4 at 22″
(7) 1×4 at 20″
(2) 1×2 at 26″
(2) 1×2 at 17 1/2 ”
(4) 1×2 at 5 1/2″
Once all pieces are cut, start by making a basic frame using two of the 26″ 1x4s and two of the 22″ 1x4s to make a rectangle. Use screws or a brad nailer to attach the boards to each other.
Next add the 1×2 frame on the bottom that will serve as the support to the cross pieces. On the 26″ sides, use a 26″ piece of 1×2. On the 22″ sides, use a 17 1/2″ piece of 1×2. Again, use screws or brad nails to attach all boards.
Now that you have your support pieces in place, it is time to set the cross pieces in. Using the 7 pieces of 20″ 1×4, start by attaching the first piece to the edge of the frame. Screw or nail it in place and the set the rest of the pieces in before nailing. Do a dry fit to see where they will lay and how much of a gap should be between each piece. Once you have them in place, nail or screw them into the frame underneath.
From here, attach the 5 1/2″ pieces of 1×2 to each of the four corners. Using those pieces, screw or nail a second board (26″ or 22″) to the back and two sides so that the back and both sides are two boards high, looking like this:
You can now add feet or casters to the bottom to make it look more like furniture, or you can leave it as is to look more vintage crate like. I just happened to have pieces that went to my daughter’s 4 poster bed that we were no longer using that I cut up and used as feet, but there are lots of options for this step. Table legs, candlesticks, railing pieces…use your imagination to make your piece unique to you! Stain or paint as you choose and you are all done.
I added a cushion that I found at TJMax and Murphy is in Heaven! Although you can’t tell from these pictures, Murphy has plenty of room to snuggle up in his new bed and he rarely leaves it. I stash his toys and bones around the corners and it keeps his corner of the room looking nice and neat.
If your four legged pal could use an updated bed, this crate dog bed might be just the thing for you!


[…] my a#&hole adorable dog, Murphy. You may remember him from the post about his DIY bed I made. The color of the wood alone makes me […]