If you had asked me a couple of years ago if there would ever come a time in my life when I was obsessed with a PBS Masterpiece Classic show, I would have laughed in your face. It would never have occurred to me that a British period drama would be one of my absolute favorite shows. But fast forward and here I am on the edge of me seat with excitement that season four of Downton Abbey has FINALLY started here in the US! I don’t know about you, but I was glued to my TV last night to watch the season premiere and I was certainly not disappointed. And because I felt as though we’d all been waiting forever for a while now for that premiere, I felt as though I needed to come up with a way to show my excitement and enthusiasm. What better way than to wear it proudly on my chest? So here is a super quick and adorable shirt that I made in about 30 minutes with supplies that I had on hand. Want to make one of your own? Here’s what you’ll need:

T-shirt
Shirt paint (or acrylic paint and a paint medium – this is what I used)
Stencil
Paintbursh
I am personally not a fan of using shirt paints. I feel very stifled by the lack of color options and that just bums me out. I have found that there are mediums that you can buy at the craft store (I’ve purchased it at both Hobby Lobby and Michaels) for a couple of bucks per bottle that will turn any acrylic paint into a permanent fabric paint. The one that I am currently using is called Anita’s Textile Medium and it was found at Hobby Lobby. Sometime these paints are not easily found as they tend to be hidden on bottom or back shelves, so you may need to ask for help in locating it at the store. It’s very easy to use, generally just mixing it with your acrylic paint at a 1:2 ratio.
If you’ve been following me for awhile, you could probably guess that I used my Silhouette to cut out my stencil, but you could also freehand your design or print it off from your computer. Have you seen the tutorials on using freezer paper for t-shirt stencils? I hope to make my own tutorial to share with you all soon, but here is a video that I found on YouTube that might be helpful.

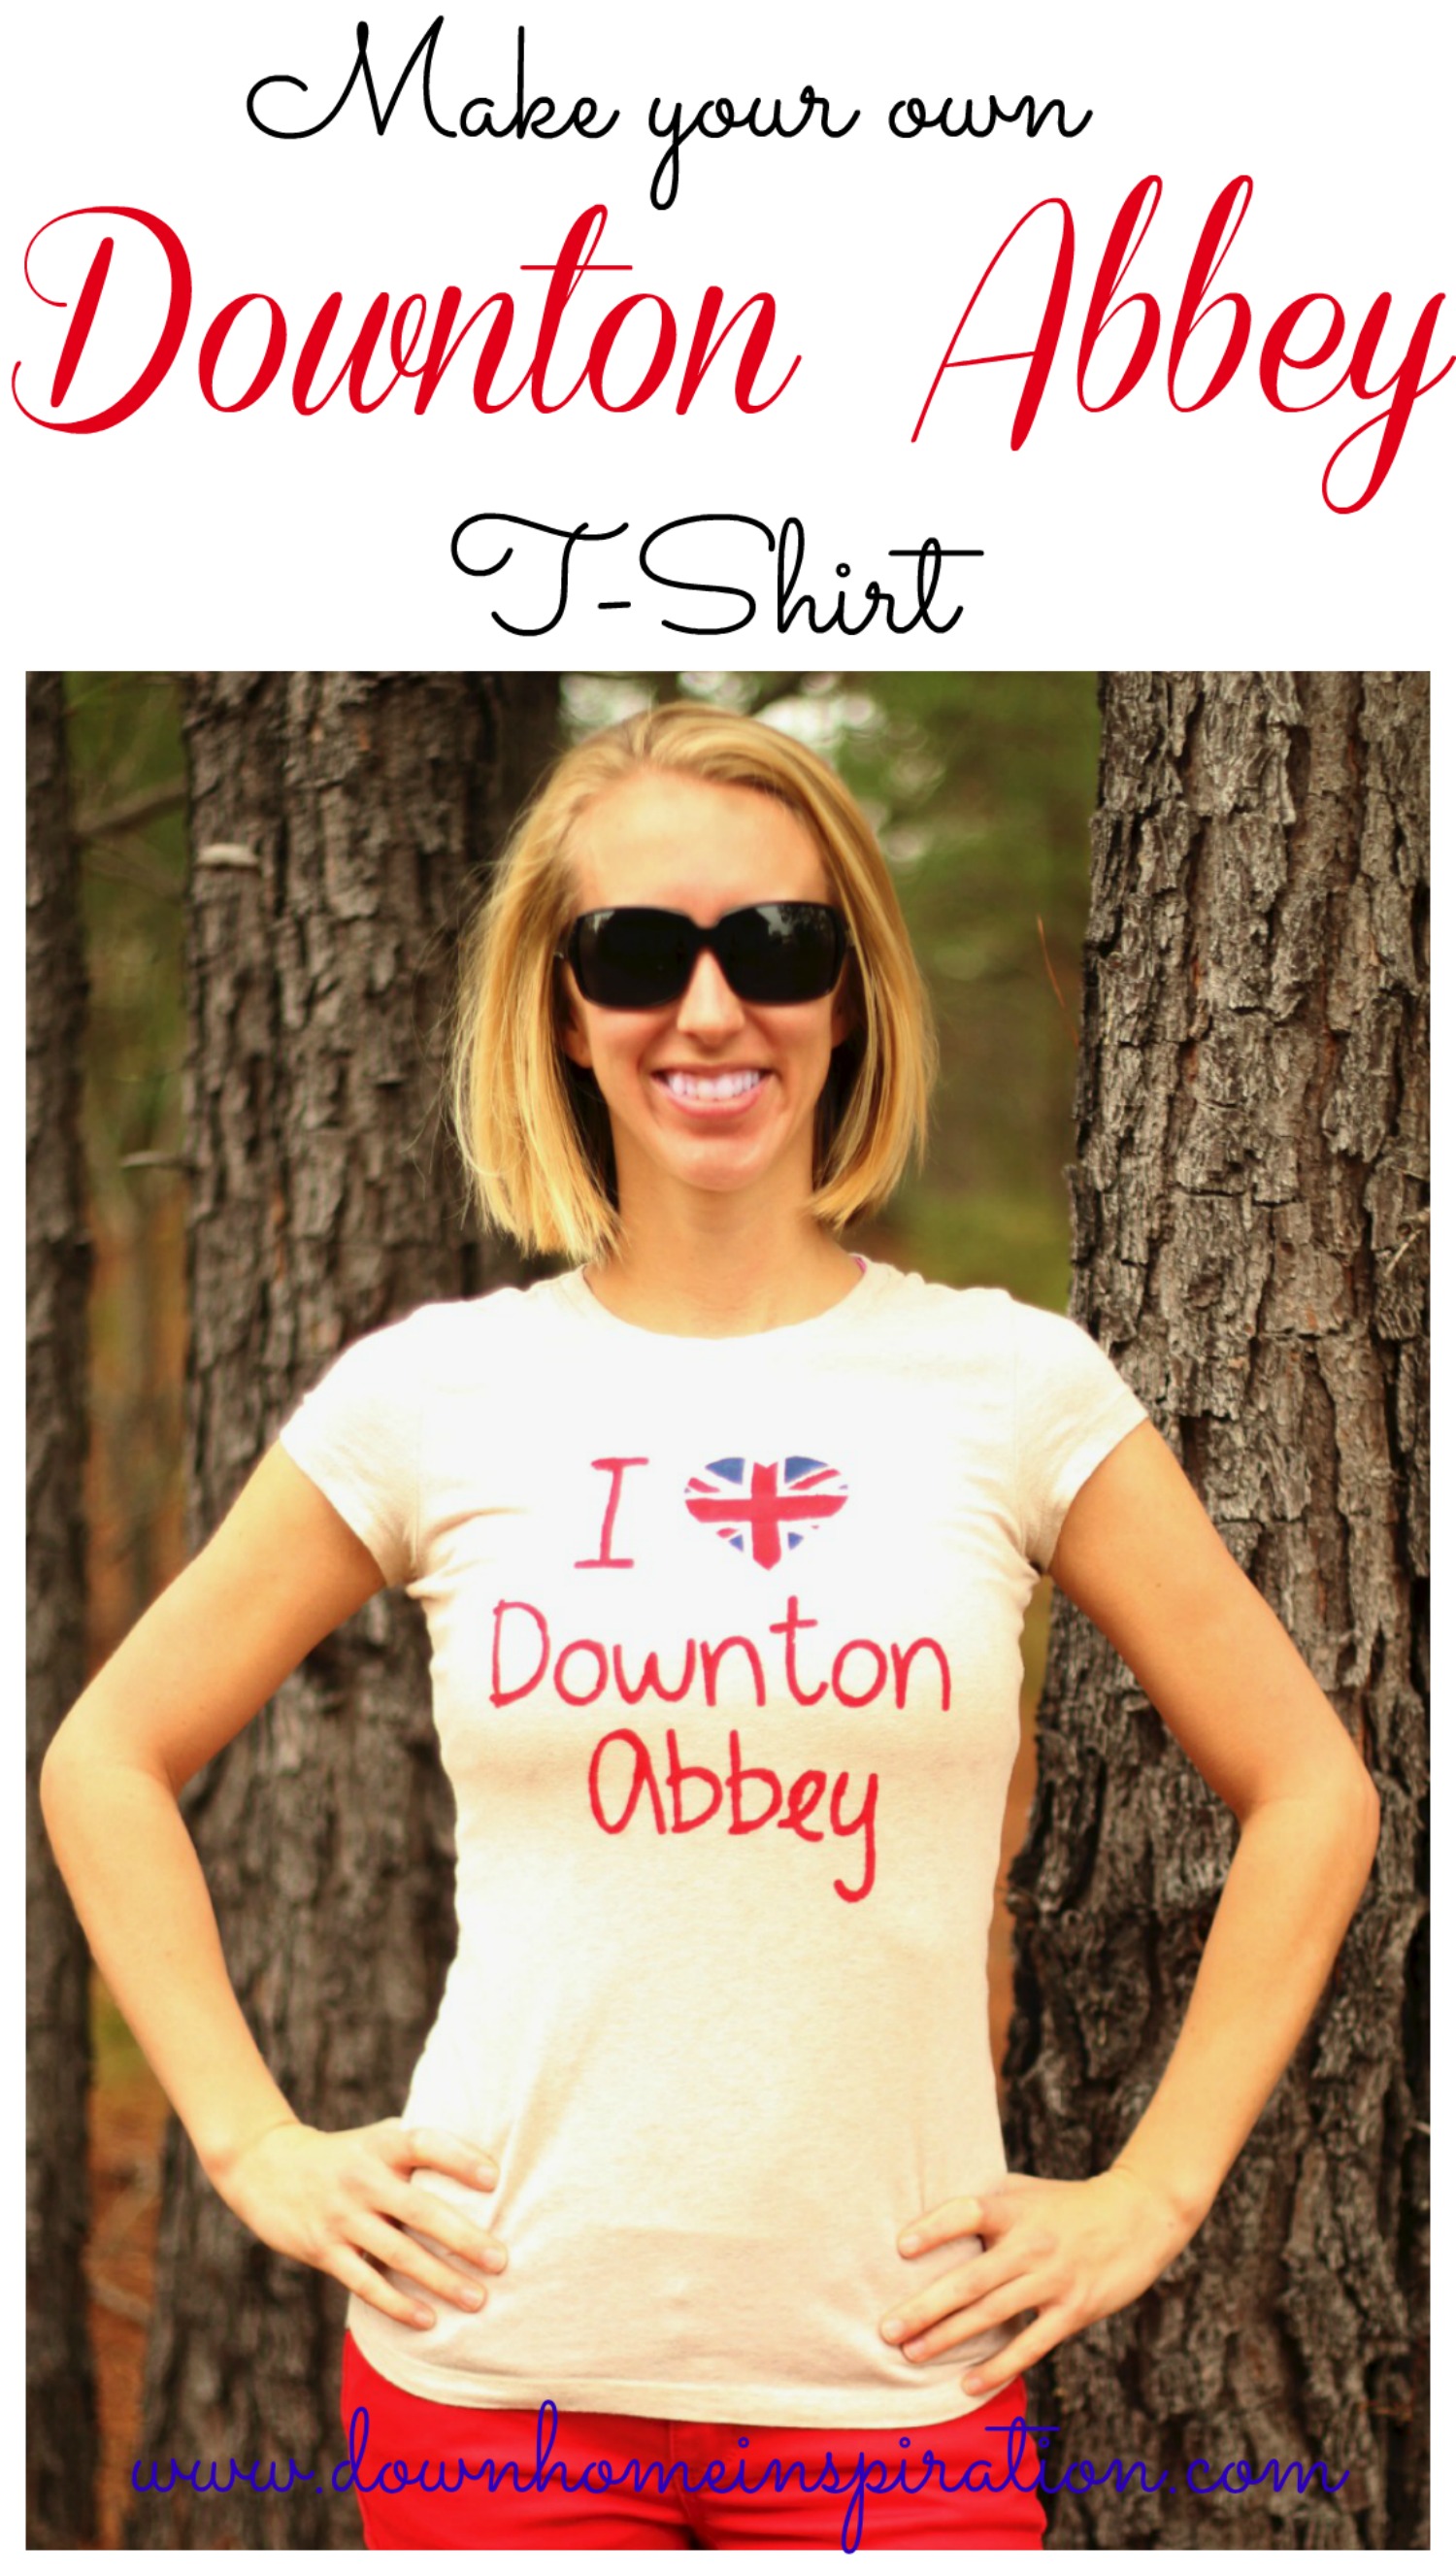
Here is my t-shirt with my stencil cut out and placed on it. Make sure that you use a t-shirt form or a piece of cardboard to put inside of the shirt so that the paint doesn’t bleed through to the back side of the shirt. Paint shirt desired colors and set aside to dry. That’s it, now you’re all set to show off your Downton pride in your DIY T-shirt!

And a big shout out to my hubby for be willing to spend some time in the backyard with me for an impromptu photo shoot to get these pictures! Love that guy!
Linked at Practically Functional


Hi, I love this idea, but how’d you do the stencil?
Hi Nina,
I made a quick design using a picture and font that I found online and was able to use my Silhouette personal cutter to cut it out with vinyl. As I mentioned in the post though, if you don’t have a cutter, you can easily make your own stencil using freezer paper. Check out the YouTube video that I linked to in the post to give you more details on that. Please let me know if you have any other questions, I’d be happy to help!
Super cute, I love how easy that is, and it turned out great! Just stopping by to pin this, and let you know I featured it on my blog today; thanks for sharing at Creativity Unleashed!
Jessi @ Practically Functional recently posted…23 DIY Makeovers: Crafts, Furniture, and Rooms!
Jessi, you are too kind! Thank you so very much for the feature!