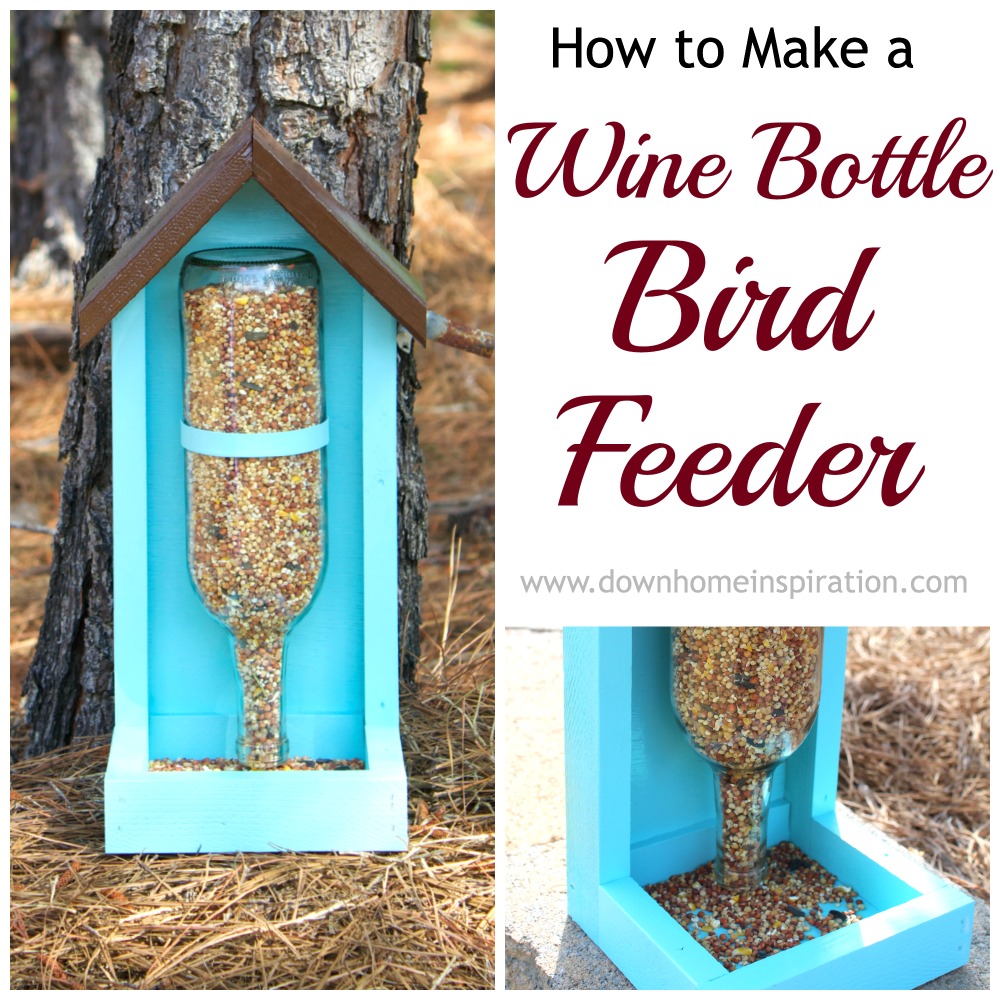
Do you ever worry what the neighbors must think of you when they hear you dumping your recycling bin? Does yours sound like there are a hundred glass bottles clinking in it? Mine does…and I feel slight embarrassment and shame from it, so I decided to keep some of my bottles out of my recycle bin and use them for craft projects around the house. It seems like wine bottles are all the rage these days, so I put this one to good use by making a wine bottle bird feeder with it. And although I most certainly do not have anywhere near a hundred bottles rolling around come recycle day, I think we can all feel good about some good re-purposing.
Supplies Needed:
(1) 8 foot 1 x 2 pine furring strip (my local price $1.18)
(1) 8 foot 1 x 4 pine furring strip ($2.08)
(1) 3/16 x 2 x 2 piece luan plywood ($3.48)
Hose clamp (such as this)
wine bottle (11 inches long)
table saw
wood glue
brad nailer or hammer and nails
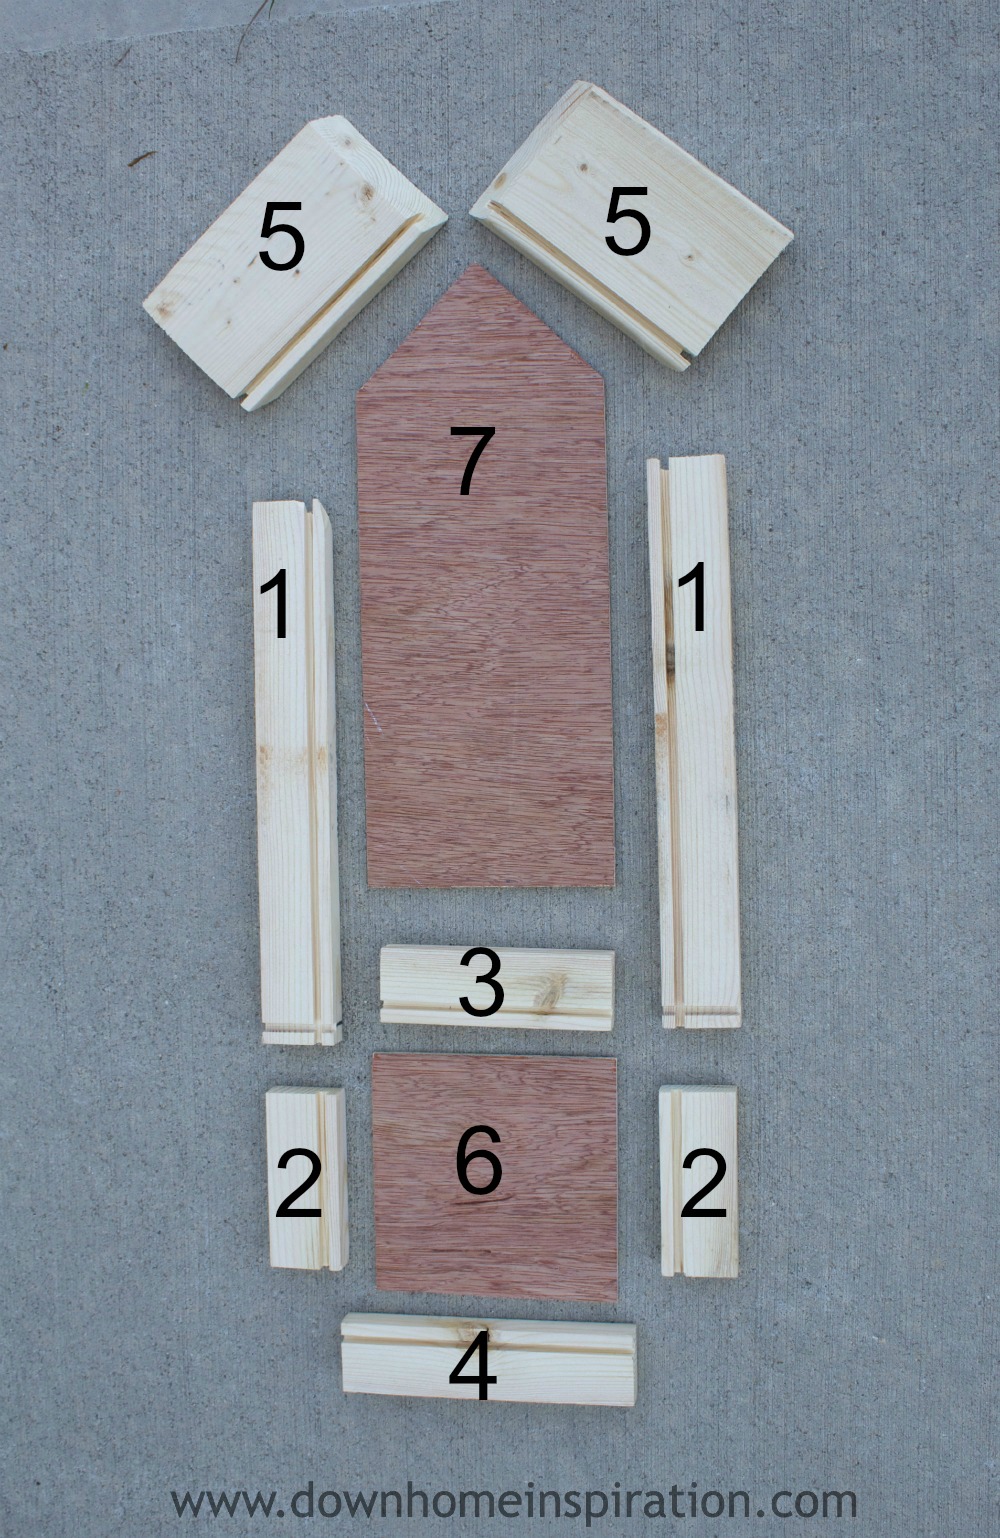
Cut List: Please see numbered picture below to correlate with list
1) 2 – 1×2 @ 11″ These should be cut at 45* on one end, with a 5/16th” wide channel that is 1/4″ from the bottom of the side and 1/4 deep. They also need the same channel running vertically 1/4″ from the back.
2) 2 – 1×2 @ 3 5/8″ These pieces will need a channel that is 5/16th” wide channel that is 1/4″ from the back and 1/4″ deep.
3) 1 – 1×2 @ 4 5/8″ This will also be needing the same channel that is 5/16th” wide and 1/4 ” from the back and 1/4″ deep as well as a channel on the top using the same measurements.
4) 1 – 1×2 @ 6″ Again, this piece will need a channel that is 5/16th” wide, 1/4″ from the back and 1/4″ deep.
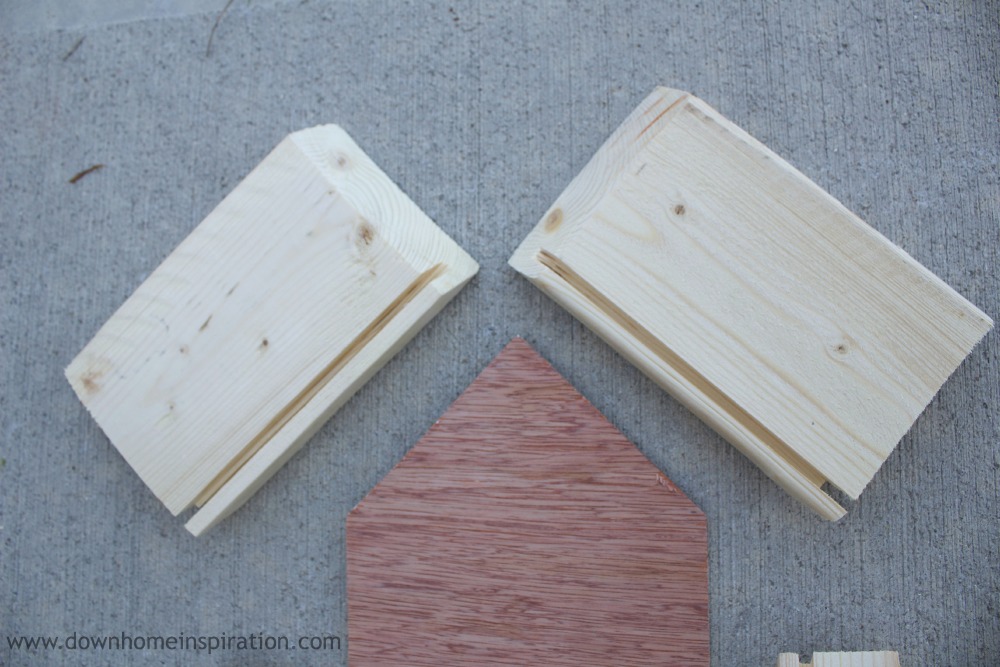
5) 2 – 1×4 @ 6″ These boards form the roof and need to have opposing (parallel) 45* angles. They also need to have the same channel as above: 5/16th” wide by 1/4″ deep, 1/4″ from the back.
6) 1 – plywood @ 5×5″
7) 1 – plywood @ 5×12 1/2″ Angled at 45* down to 10″ at sides
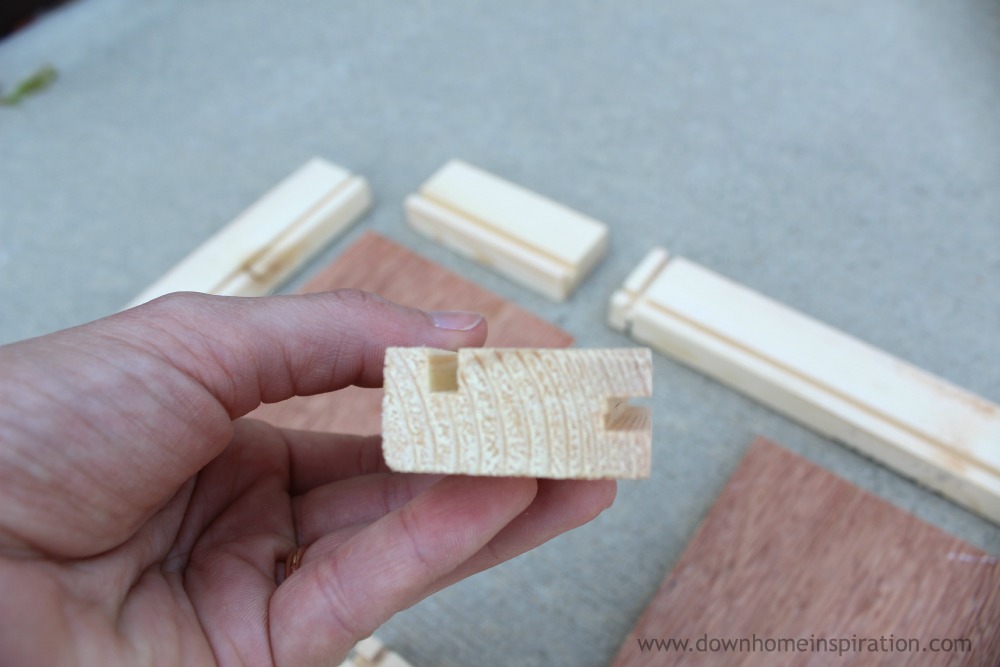
After cutting all of the pieces to size, cut small channels into each piece (as noted above in the cut list) using a table saw. The channels will help the bird feeder fit together snugly and securely as well as look nicer. The deeper the channel is, the more movement before assembly. The tighter the channel, the more stable it will be. After all pieces and channels are cut, you should end up with something similar to the above picture. Make sure to dry fit pieces as you work to ensure that they fit together nicely. It is much easier to correct small issues at this point than when you are trying to glue and nail.
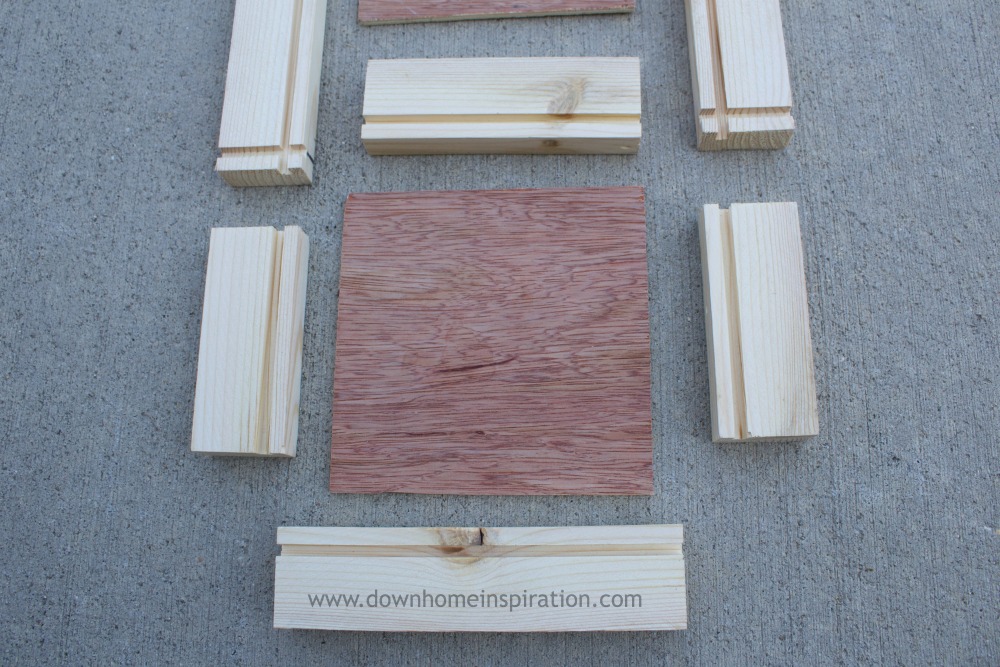
Here are some more close up shots of what the pieces should look like before assembly:
This is a picture showing the channels cut in step 3. Note that there is a channel on both the top and and the side.
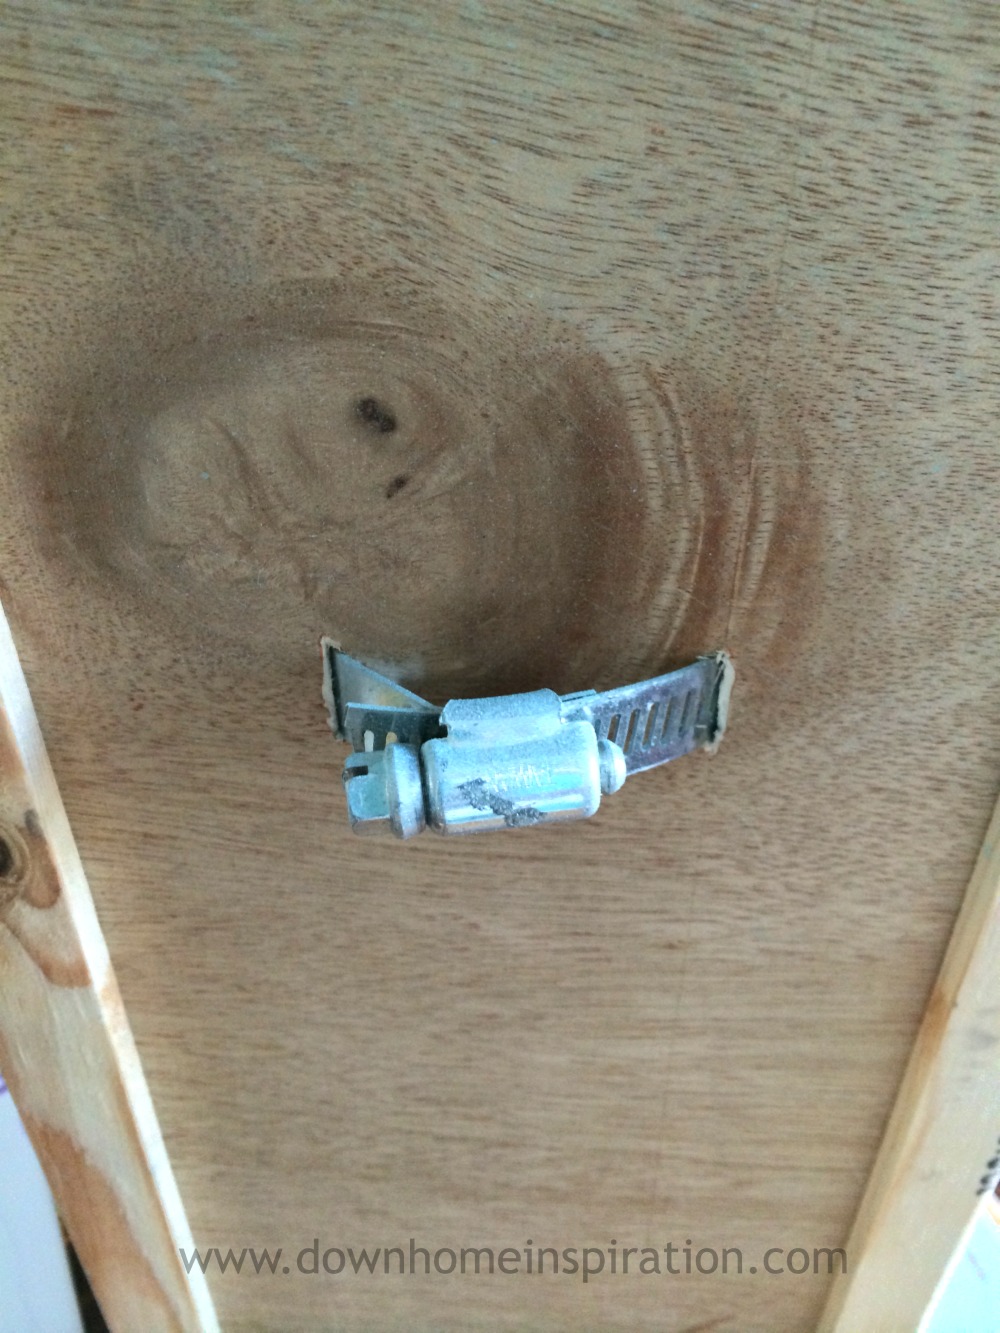
Fit the hose clamp around the wine bottle to measure for size. Using a small drill bit, or a utility knife make openings just large enough for the hose clamp on the back piece of plywood. Insert hose clamp and remove bottle. Here is what the back of my bird feeder looks like with the hose clamp:
Once all pieces have been cut and you have dry fitted them, it is time to start assembling the bird feeder. I chose to use both wood glue and brad nails to ensure that it would hold it’s shape even with warping from the weather. I added a small amount of glue in the channel of each piece and then added a brad or two. I would highly suggest using wood glue for longevity of the bird feeder. Do not glue the roof onto the feeder. Simply attach the two roof pieces together and they should be able to snugly fit with the channel. You need for the roof to be removable in order to refill the bird seed.
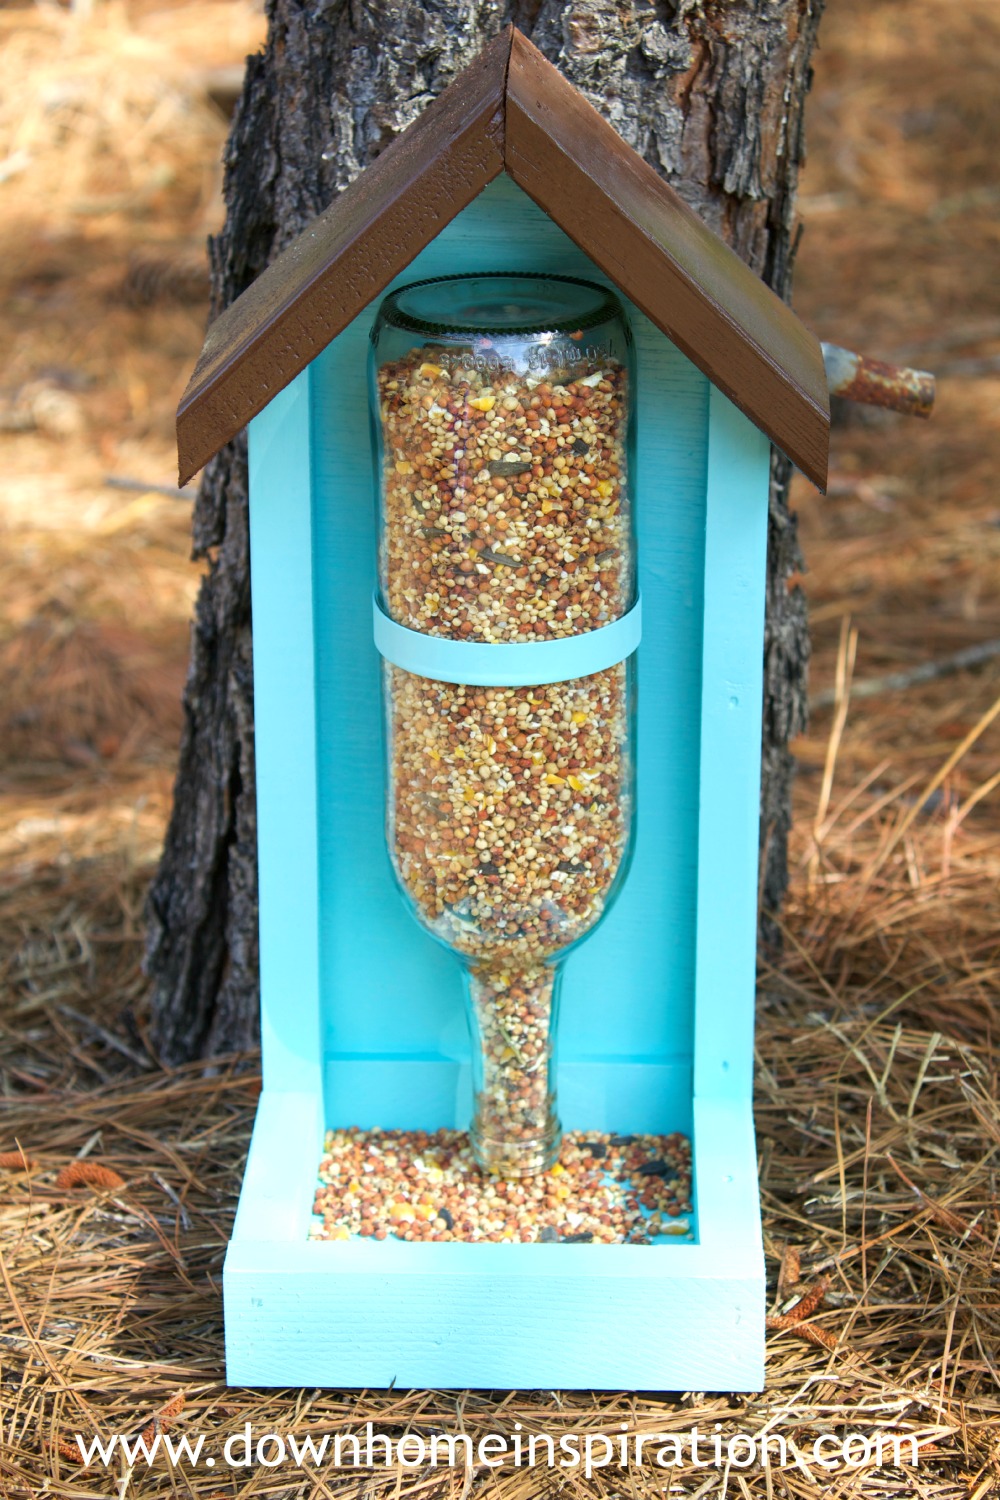
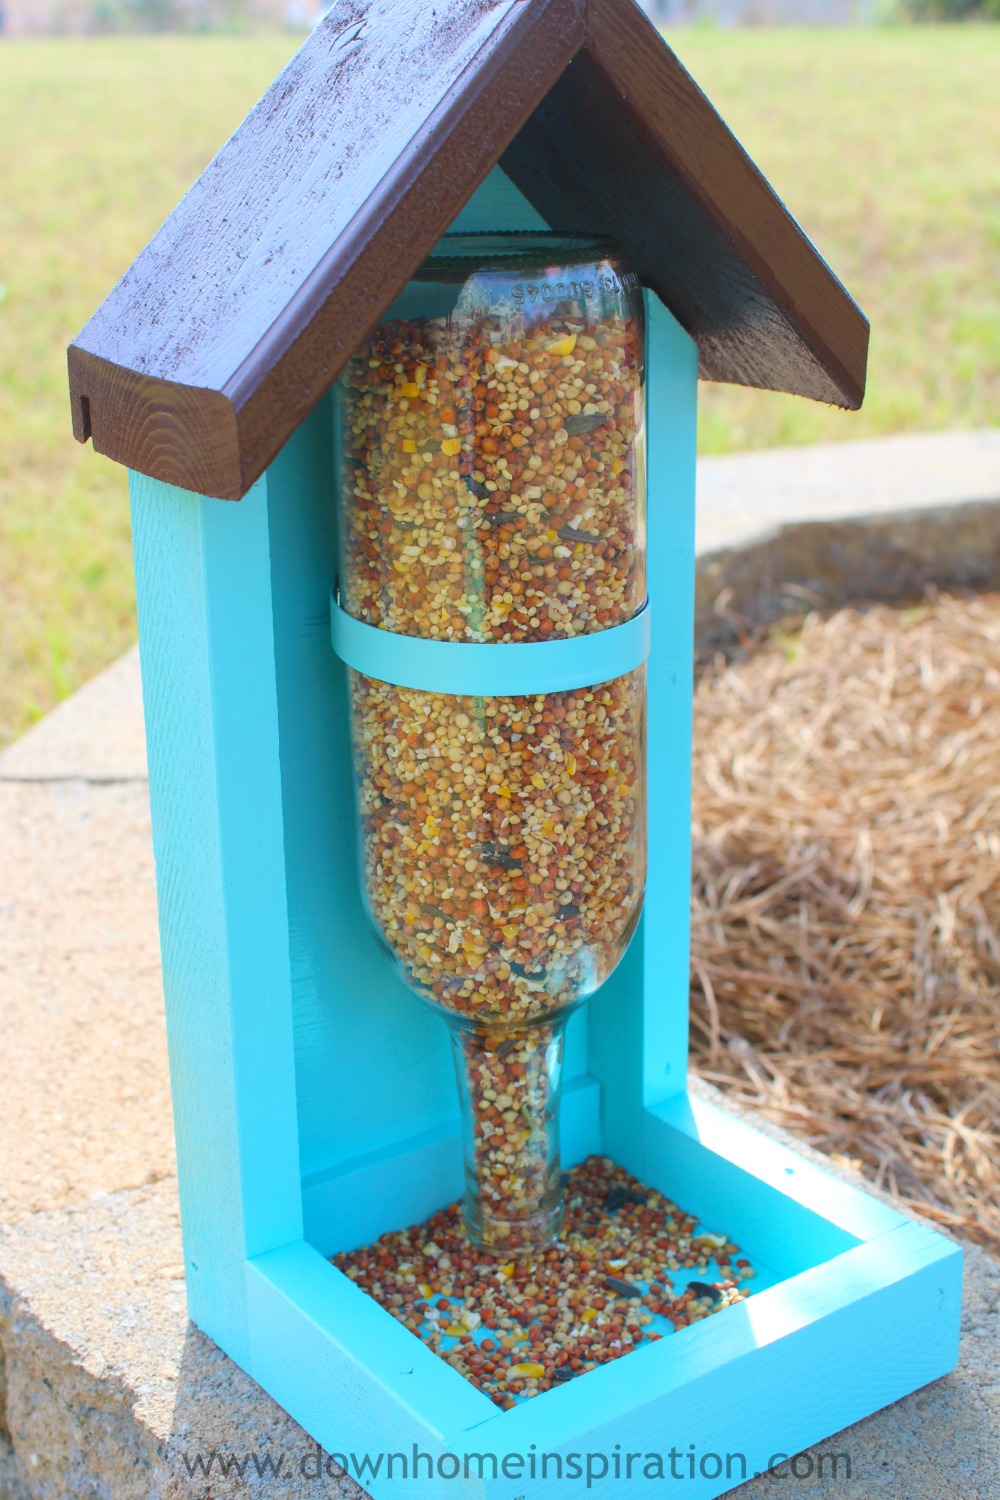
Fill the wine bottle with bird seed and set in clamp. Tighten if needed and set roof on. You can hang the bird feeder directly onto a fence post or add a rope or ribbon and attach it to a tree limb.
Loving the look of this bird feeder, and the fact that it only took me a short time to create and build is a major plus. I think the neighborhood birds will appreciate it as well.



This is awesome, I love it!!!
Melissa@TheHappierHomemaker recently posted…DIY Monogram Spring Wreath & a Big Giveaway!
Thank you Melissa!
If I was any bit nifty with tools I would make one of these! Such a cute idea.
Lauren recently posted…Summer Book Club: The One & Only
how do you refill this?
Jean, you would just use a screwdriver to loosen the fitting, then pull the bottle out and refill. Hope that helps!
This worked well except it wasnt listed that part #1 had slanted edges for the roof to fit on. Also it needed to be 1 inch longer. So 13.5 inches. If you do this you also have to make Part 7 an inch taller. Part #3 was the wrong length. It needed to be 4 3/8 in length and not 4 5/8. All in all it was a great idea just a few measurement errors.
Love your diy. I’d like to make one for our bird friends.
Theresa @DearCreatives recently posted…13 Reasons Bulldog Love Is Sweeter Than Christmas
I really like this idea. First of all it’s made from things I have lying around the house and I can get the wine bottles pretty easily from friends. Thank you for sharing.
This was a wonderful project thank you?
Thanks so much, Angela!
Once the bottle is empty, how do you get it out to refill
You just unscrew the hose clamp, lift the top off and slide the bottle out.
You migh consid3e making the bottom out of screen cloth, then the dust and small bits of seeds will fall through, and keep the whole thing a bit cleaner…
Just my 2 cents
Great idea!
Hey Kristen,
I admire your work. That’s awesome! It inspires me try something similar with this soon. Thanks for sharing. Great stuff!
Cheers,
Oliver
I loved your job…
Does the roof help keep the squirrels out of the feeder?
Hi Eleanor, I wish there were an easy way to keep the squirrels out of bird feeders, but there just doesn’t seem to be. The squirrels still find their way to this seed, even with the roof.