Oh my goodness guys, I thought that I might lose my mind last week. My laptop started going on the fritz and after four separate calls to AppleCare, I was told to completely reinstall everything. That meant that my entire laptop was wiped clean in one fell swoop. The worst part of it was that it took almost two full days (I had to do it twice at about 14 hours each time) and it didn’t work. My laptop took the sad and horrible journey to laptop heaven. And that left me with no computer.
How’s a blogger to blog with no computer?
This lead me to purchasing three new iMacs (long story, just know that I will be returning two of them) and being able to post again. So sorry for being gone last week, but yay for being back and with a brand spanking new computer and my laptop in the mail to Apple to be fixed. Whew, I can breathe a bit easier now with a backup! And since I missed it, let me just say now that I hope you had a wonderful Thanksgiving!
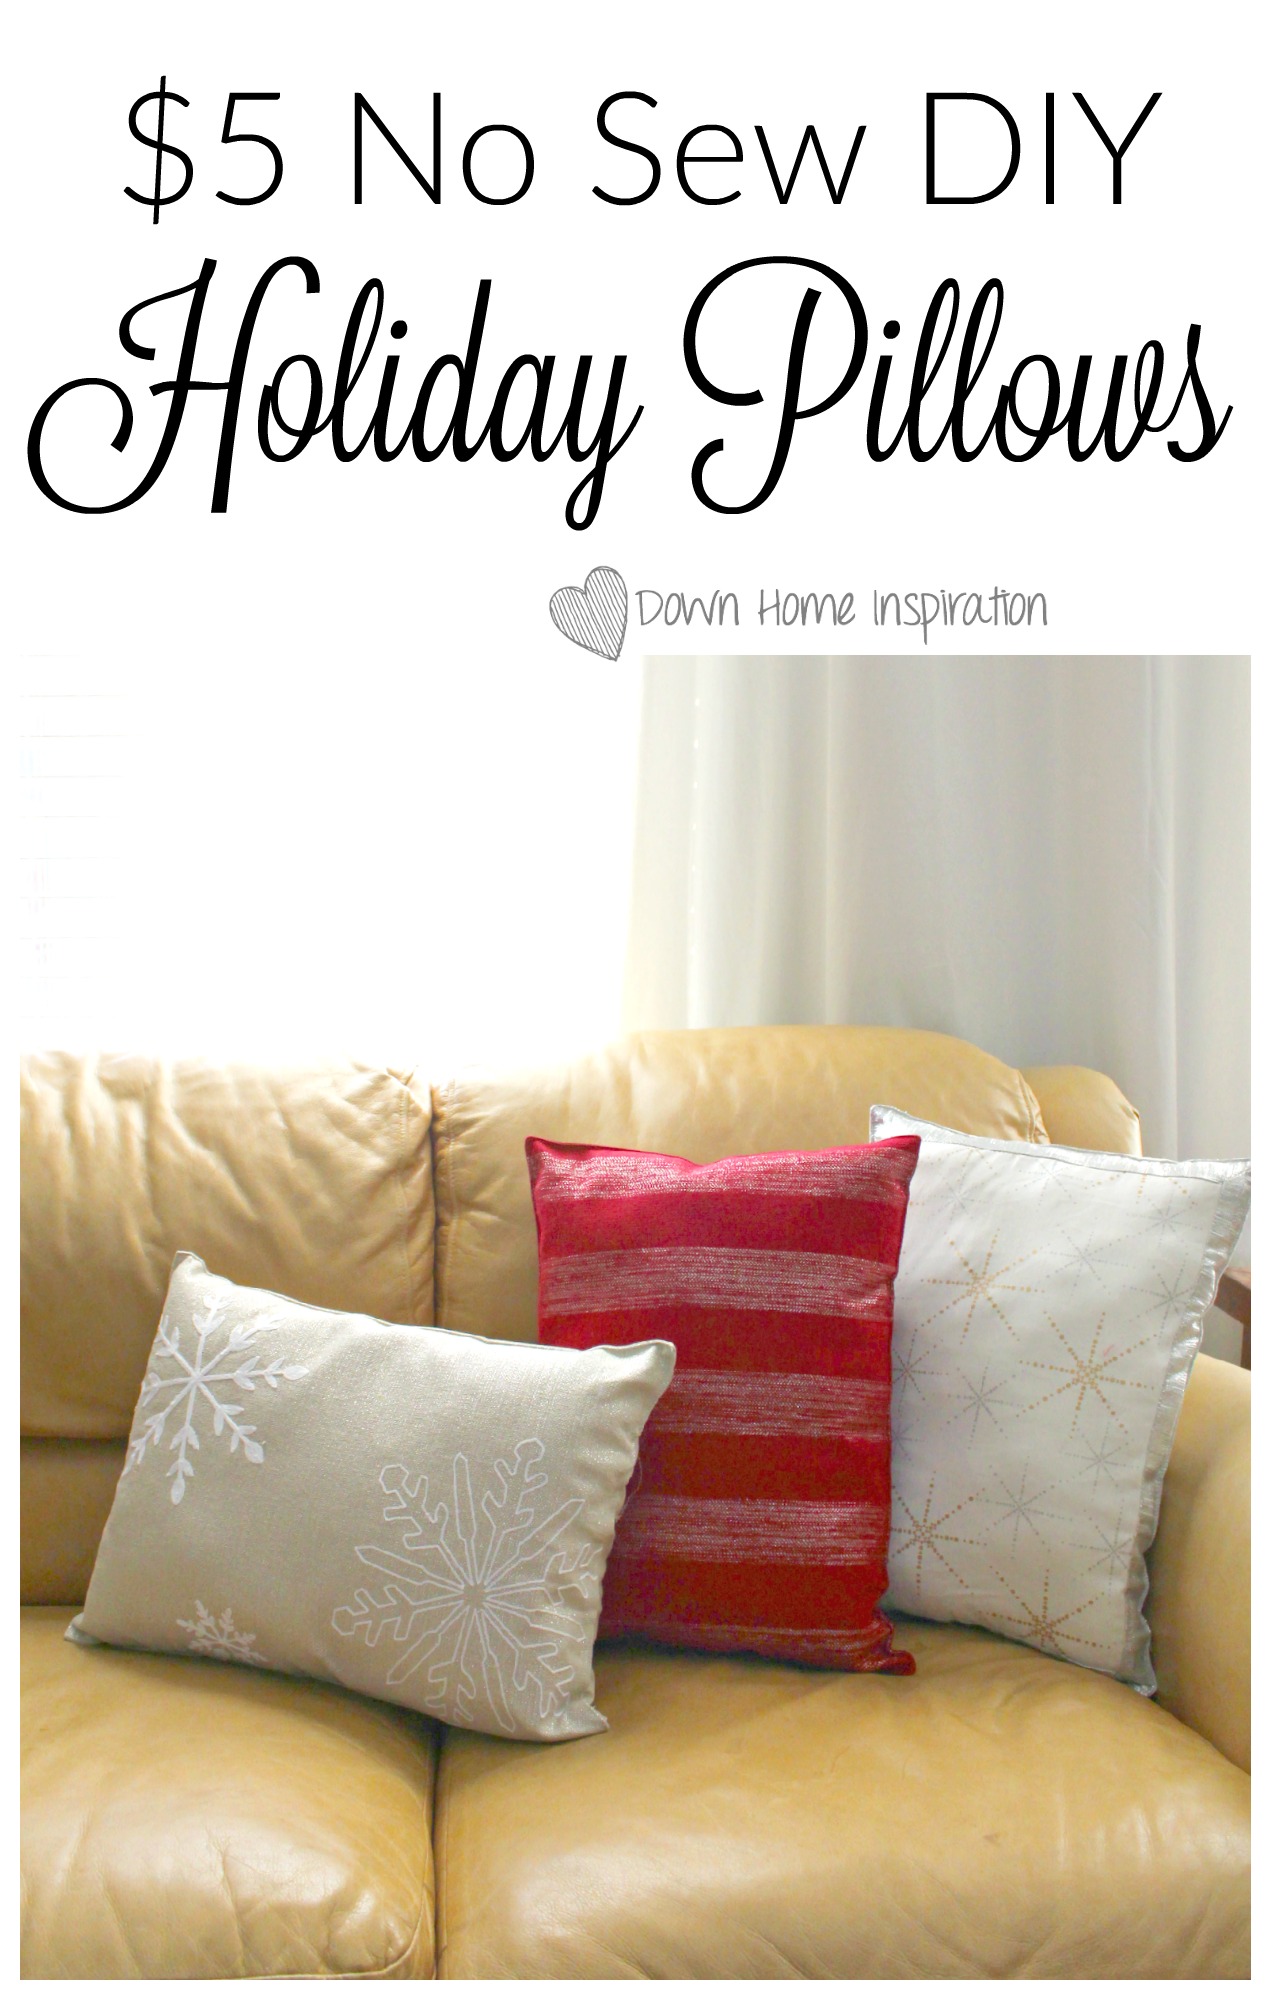
Anyhoo, I am so excited that I can share today’s tutorial with you because it is blowing my mind. With just a bit of cash and super little effort, I made six beautiful holiday pillows for the price of one. And they are no sew! Say what?!
Okay, are you ready to make your own no sew diy holiday pillows? Yeah, let’s get right to it!!!
Supplies:
placemats (I found these gorgeous ones at Target on sale for $3.19 each!)
seam ripper
stuffing or batting
hot glue gun
Okay, so the most important part of this whole project is finding a placemat that is a separate piece of fabric on both the front and the back. When you are at the store, be that creepy person who is trying to separate a placemat. I did it and I’m not ashamed. You need to feel that there is a piece of fabric on the front side and another piece sewn onto the back. Easy enough, moving on.
Now comes the fun part…taking the placemat apart. Use your seam ripper to open up one of the short ends at least 6 inches. You need to be able to stick your hand in there and stuff it, so judge accordingly.
Use stuffing (I got my big 5 pound box at Hobby Lobby and used a 40% off coupon to bring it down to only $12) and fill that placemat, er pillow on up! Be sure to get in the corners and fill it full. No half stuffed pillows in my house!
Can you believe that we are almost done here?! Okay, now grab your hot glue gun and carefully glue up the opening. I glued about 3 inches at a time and held it while it dried to make sure that it created a nice seam. Also be careful not to let any stuffing get in the glue as you would have to cut it off later.
And that, my friends, is that. You’ve now got a gorgeous new pillow to adorn your holiday couches with. Of course you can do this at any time of the year with any old two sided placemat that suits your fancy. How cool is that?
All in all, I paid just under $32 for six pillows. That is a steal considering that they are embellished. I could not be more excited about this project! Please tell me that you are ready to make your own!


Speak Your Mind