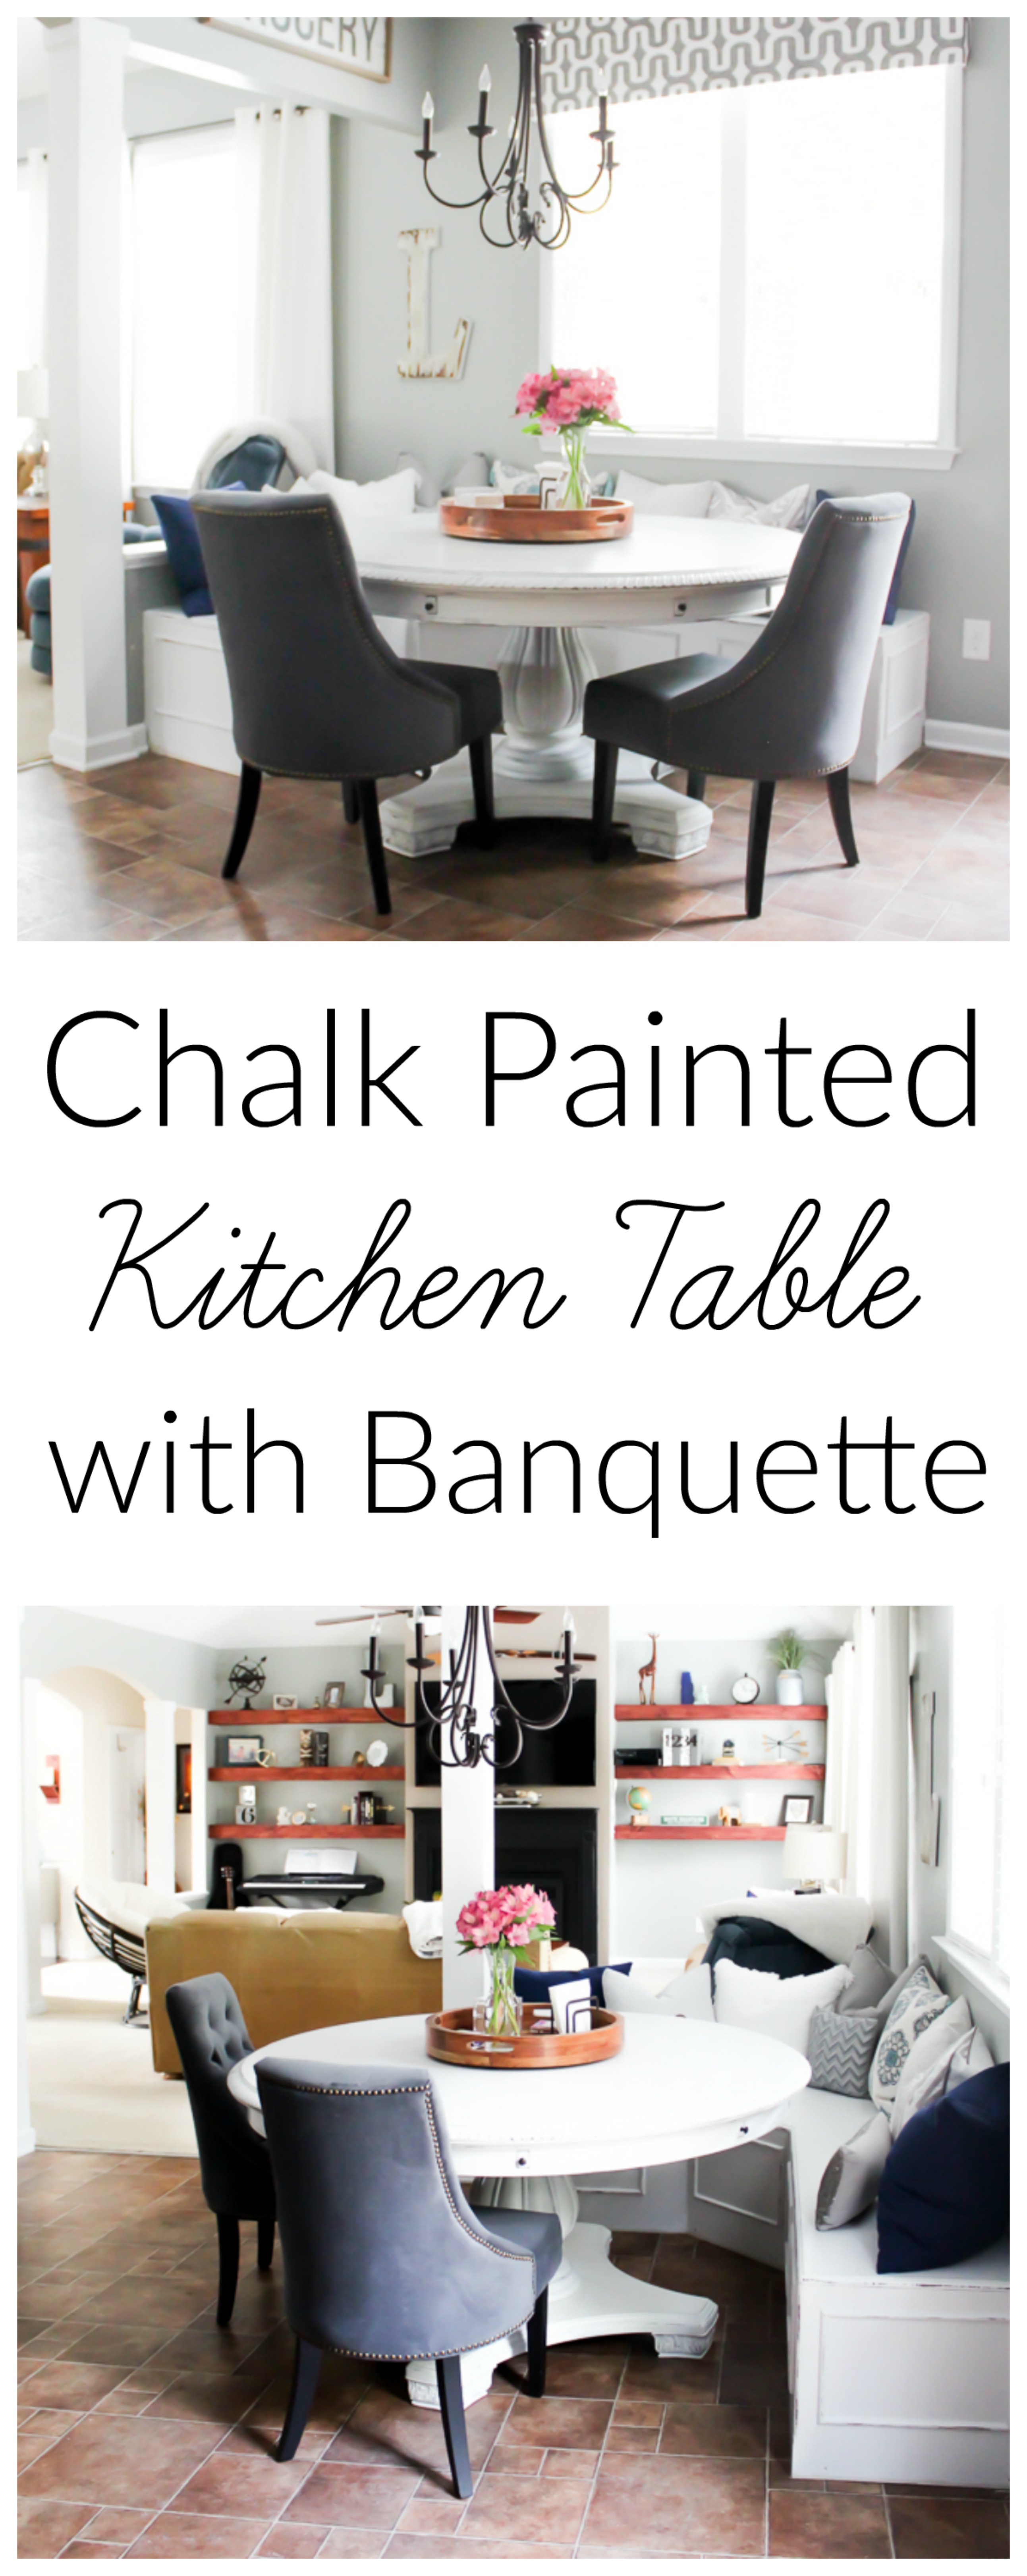
When we moved into our house a few years ago, we didn’t really have a whole lot of furniture. We were young, had lived in houses that were a third the size of this one and had moved to four different states in the previous five years. Needless to say, we’ve been slowly re-working or replacing pieces that we had basically bought as place holders ever since. This is not the first time that the eat in kitchen area of our home has been in a transformation stage, but I can tell you with 100% certainty that it will not be changing anytime soon…I am in love with the new set up! Because I had so much to say about our updated table, and a ridiculous amount of pictures, I split this into two parts. Please check out part two to see the “after” photos…it’s worth it!

Multiple states and houses ago I purchased a square, counter height table that seated 8. It was a huge table, and while it looked okay, even in this house, it just didn’t work well with our little ones.

Table number one in our home. We had just moved in and the house was totally bare and empty.
Cut to a couple of years ago when my folks were moving and they didn’t have room for their gorgeous formal dining table. We bought it off of them and excitedly moved it into our kitchen just to realize that no matter how much we wanted it to, it absolutely did not fit. It was nearly impossible to walk around it to get to the back door or the kitchen counter even. Pretty, but still a no go. It would look amazing in a formal dining room, but you may remember that our dining room is my office.

Table number two. Beautiful but too dark and way too big for the space.
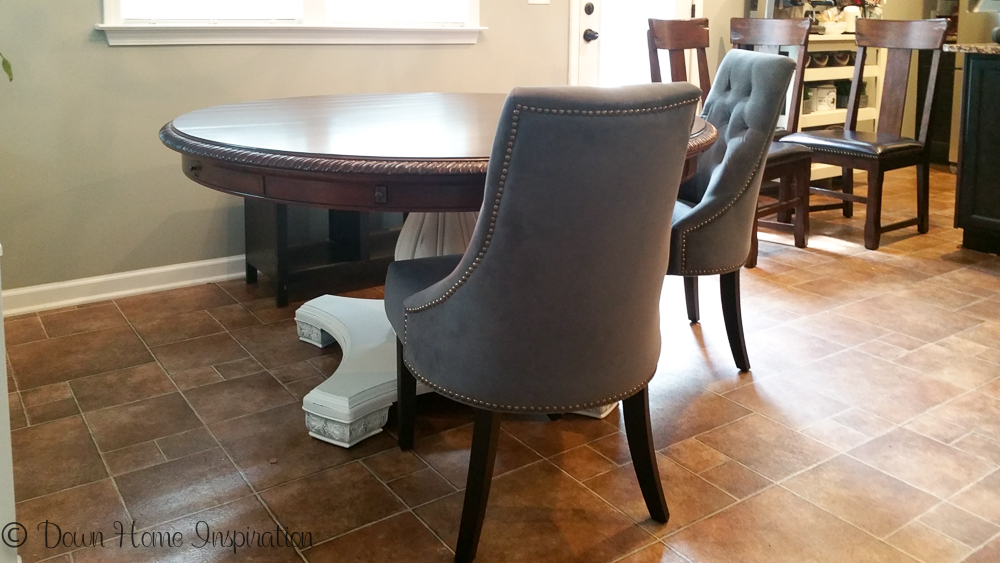
Cut to a quick Craigslist perusal to curb my boredom during my daughter’s piano lesson and finding this beauty:

Yeah, she looked a bit dated with the two tone wood colors, but I fell head over heels in love with the shape and style and knew that it could be stunning. (Oh my goodness, can you see the date on the calendar?! This project literally took me months!)

I chose to spray paint the base and pedestal with Rustoleum Chalked Paint in Linen White. I went back and forth about spraying or hand painting, but with all of the detail, I knew that spraying would be so much faster.

Under the impression that it was a solid wood table, I planned on chalk painting the pedestal and staining the top a nice dark color. I quickly realized that it wasn’t solid and would be nearly impossible to stain. Sad, but still determined, I chose to use gel stain on the top.

If you haven’t heard of gel stain, it is more of a paint than a traditional stain and it is much thicker. Hoping that it would be dark enough to cover the two tones (it totally was) I spent many hours working on it. I painted five coats of gel stain and an additional 5 coats of polyurethane on and moved it in to the house.

You can see we were trying to figure out what size we wanted the bench to be in the background.
And I hated it. Like so much. Enough that I cried. A lot.

To see how I changed it around and all of the pretty “after” photos, be sure to check out part two!


[…] sure to check out part one of this post to get all the details on why this project made me cry plus all of the “before” […]